A Complete Winter Backpacking Gear List
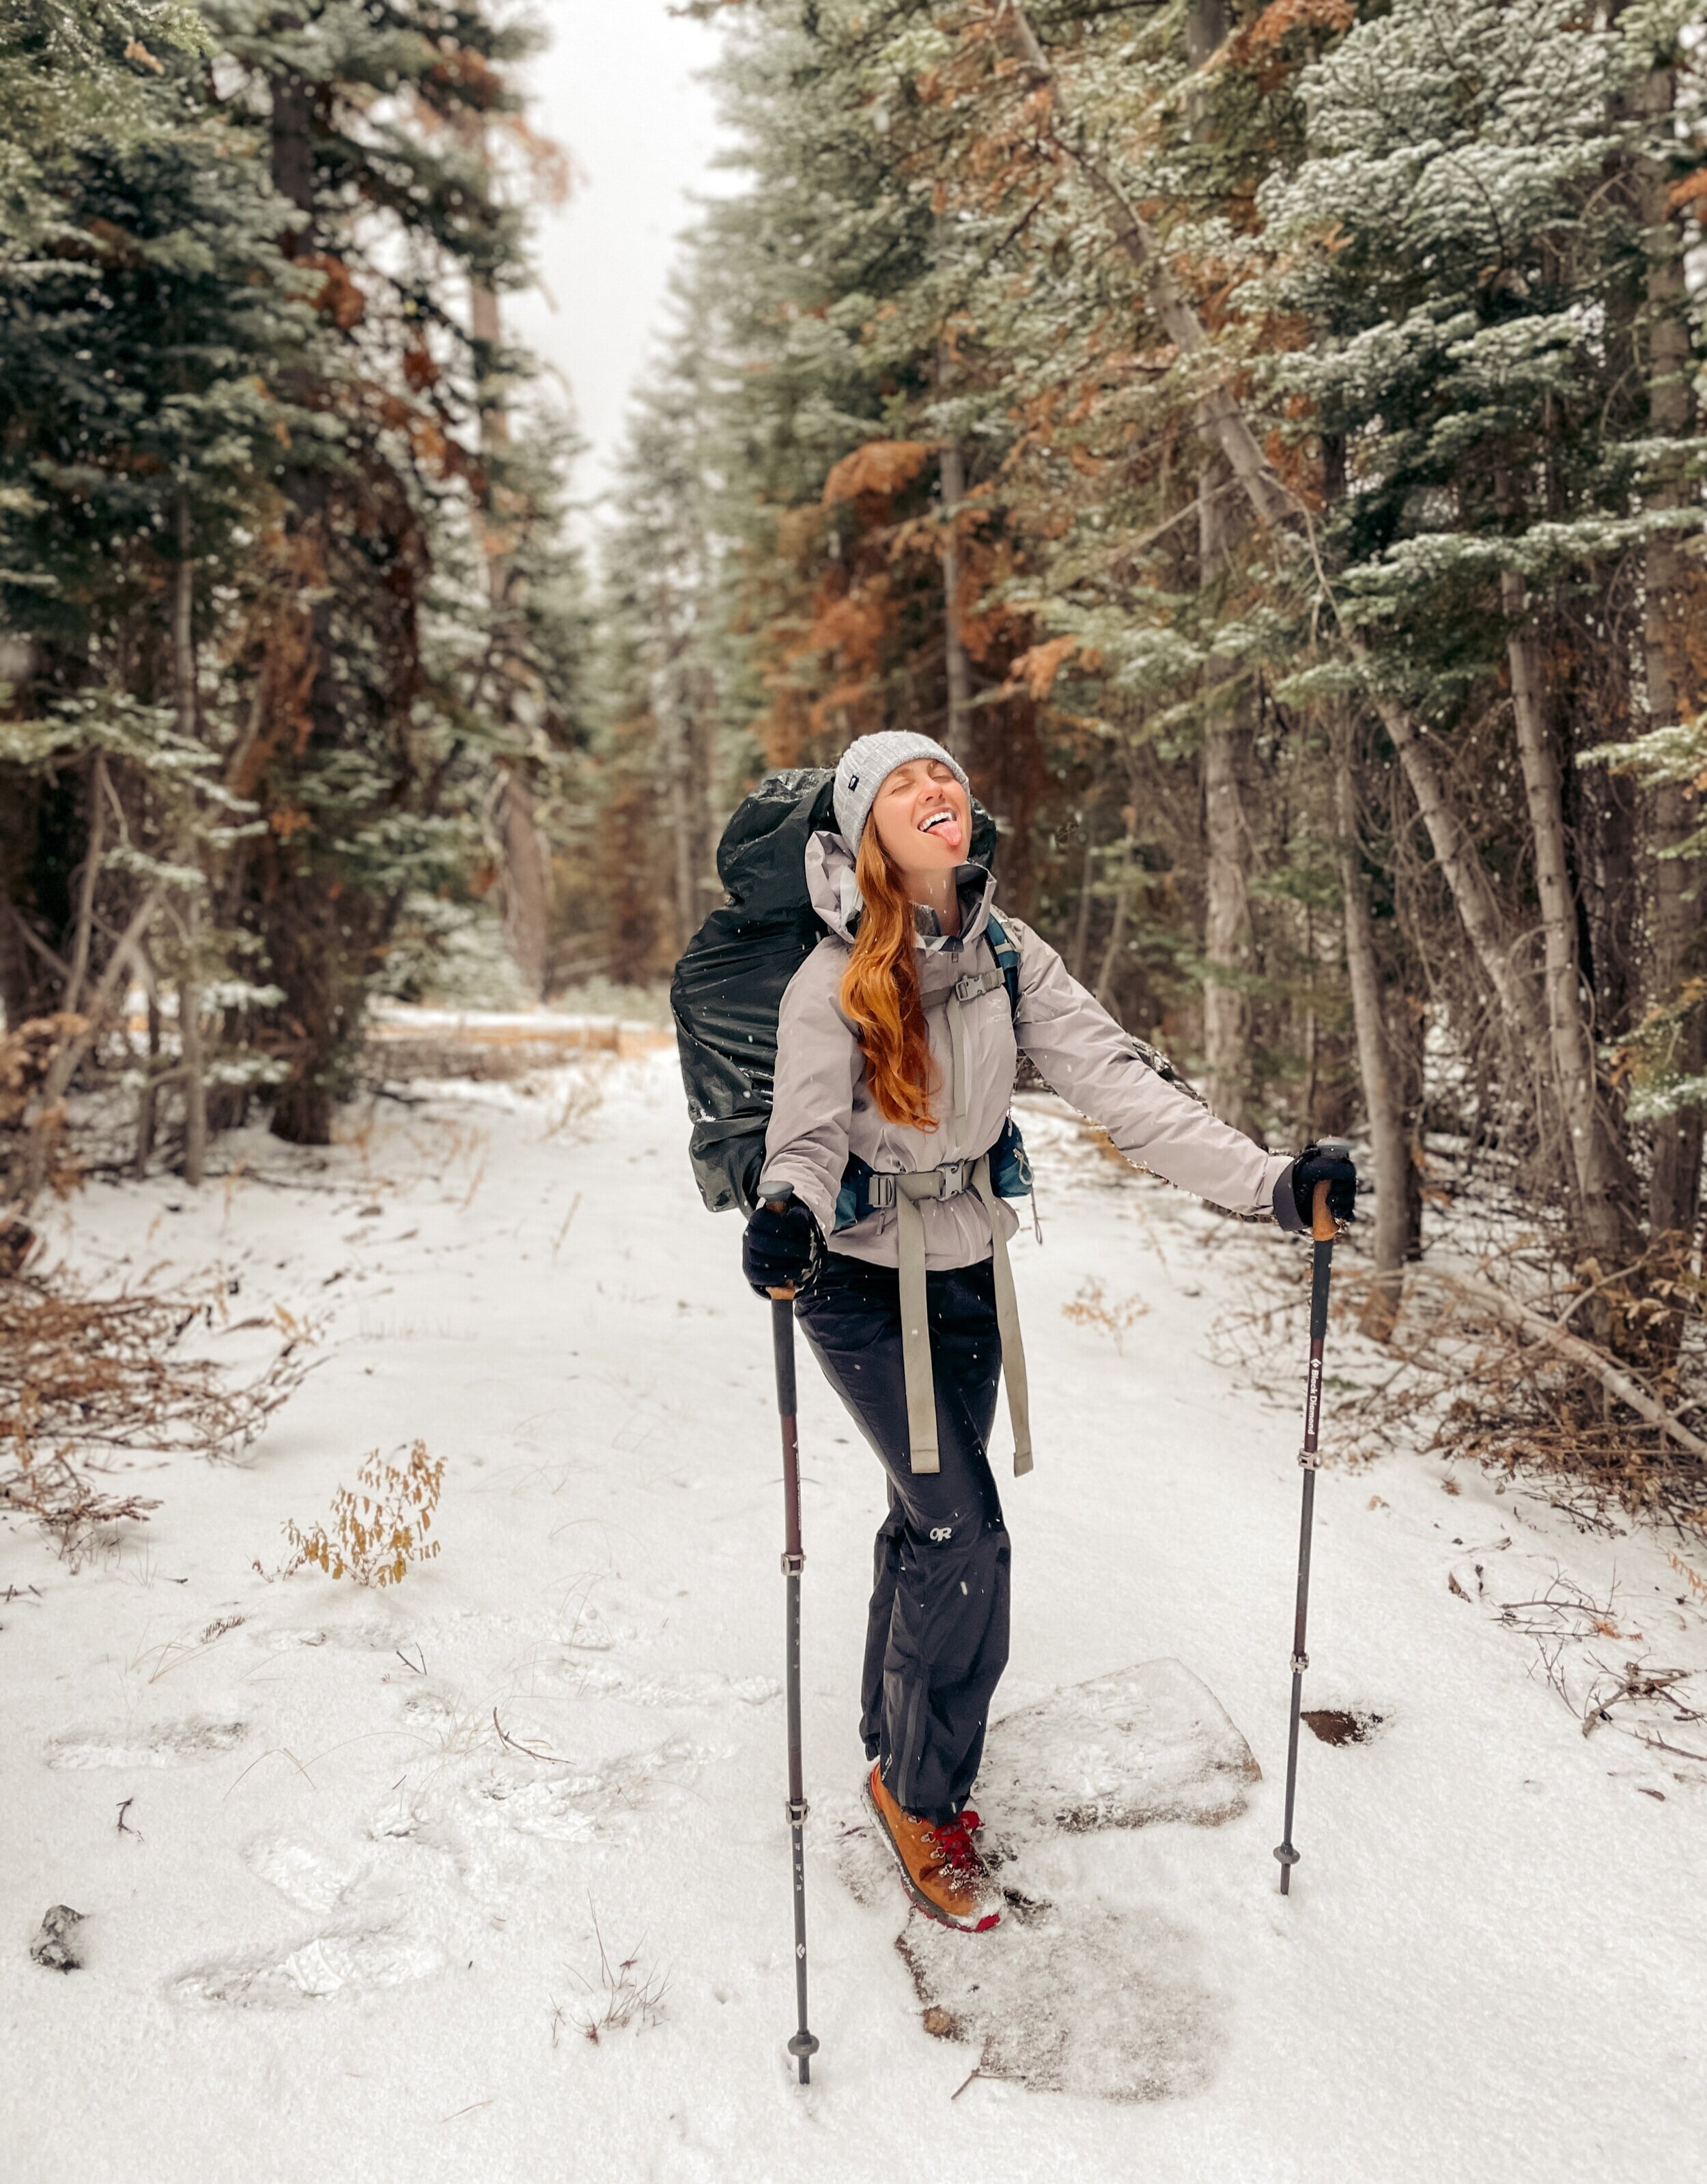
We fell asleep to the sound of “rain” hitting our tent. It was only 7 PM on a cold November night, but the sun had gone down hours ago. I woke up at 4:30 AM because I needed to pee. Ugh. I was so cozy in my cocoon, but I had to go. As I sat up, I realized the top of the tent was partially sunken in and I quickly unzipped the door. Oh my goodness. The “rain” was snow… and we were in about seven inches of it.
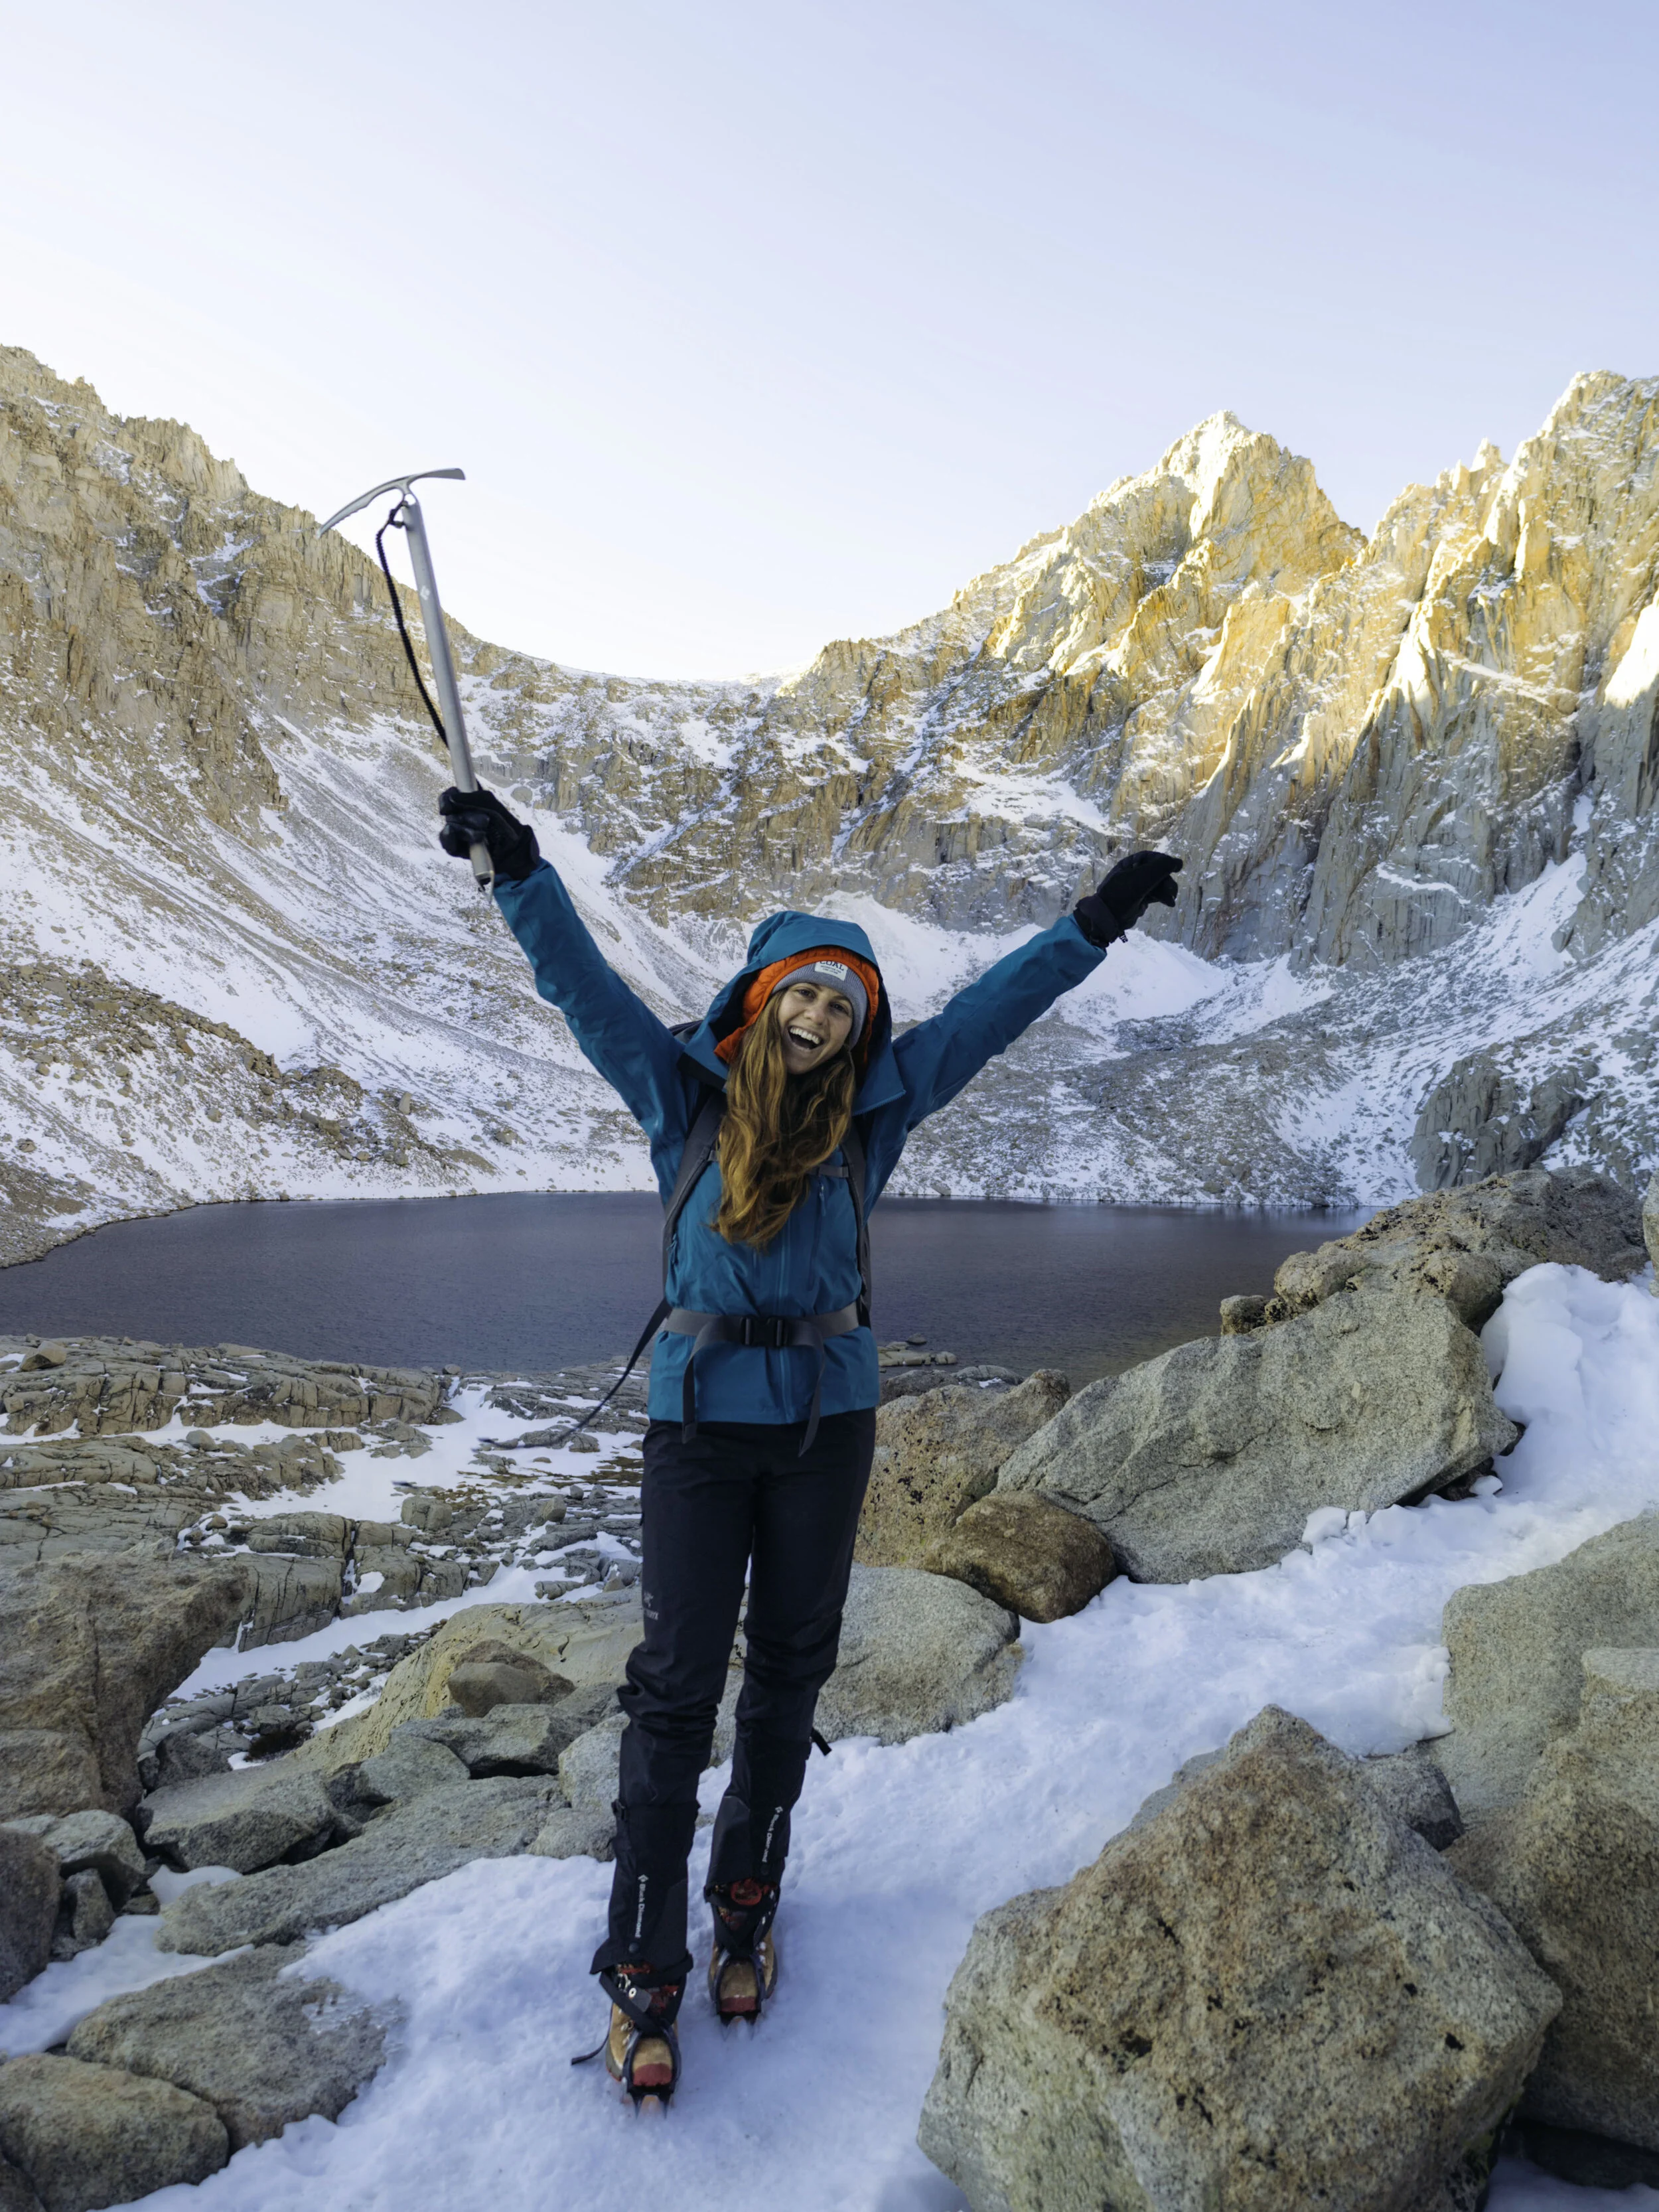
We were ready to go as soon as the sun came up. Ready to backpack through a winter wonderland. It was a beautiful adventure.
Backpacking in the winter is an absolute dream that takes a lot of preparation. You’ll need very different gear than a normal 3-season backpacking trip. You’ll need to watch your GPS precisely as it’s easy to lose the trail. You’ll need to wear so many layers that you’ll feel like a marshmallow. You’ll need to filter freezing water or snow as your water source. You’ll need to learn a lot…but trust me, it’s worth it.
If you’re looking to just do winter day hiking, you can check out my blog post on winter day hiking essentials. Please also note that this is for non-avalanche areas. If you plan to go somewhere at risk of an avalanche, make sure to not only get the proper training but also to bring self-arrest gear.
Let’s get ready to for a winter adventure!
TEN ESSENTIALS:
On every outdoor adventure, you should start by packing the Ten Essentials. These items are necessary to keep you safe when the unexpected happens. To learn more about them, check out my post, The Ten Essentials.
HIKE:
Backpack
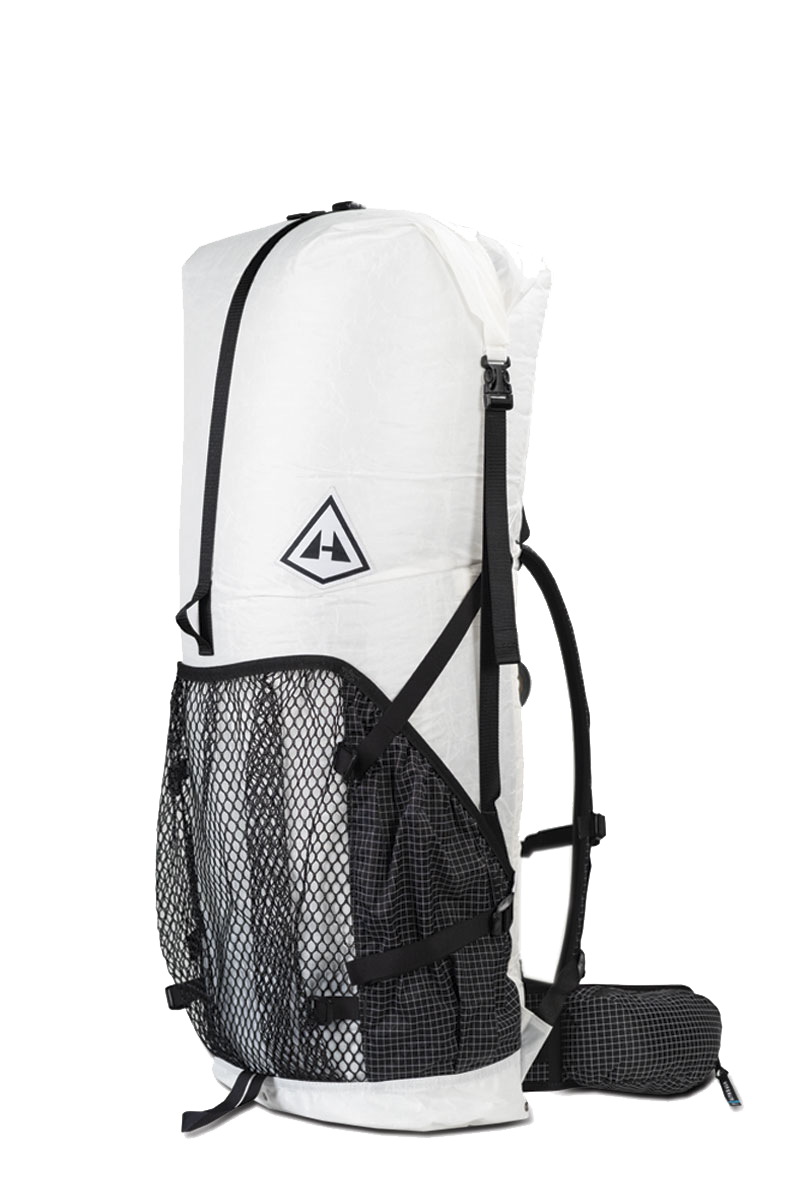
Winter gear is bulky and heavy. Depending on the length of your trip, you may need a bag with a larger gear capacity than your summer backpack. If you don’t mind spending a little more, I recommend checking out the Hyperlite Junction 3400. I absolutely love this pack - it’s lightweight, water resistant, and comfortable.
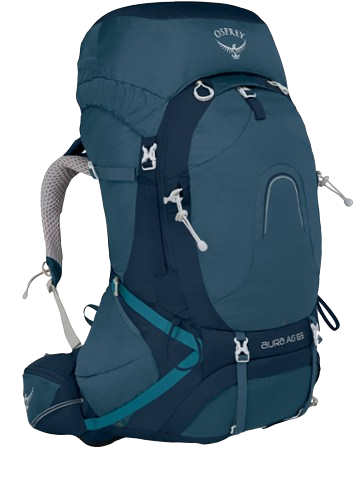
If you’re looking for something less expensive, I also love my Osprey Aura 65L (men’s version is the Osprey Atmos 65L). I’ve used it on many winter backpacking trips as it’s supportive, adjustable, and comfortable. If you bring this backpack or any others that aren’t water resistant, make sure to bring a backpack cover. You’ll be thankful when you get caught in a rain or snow storm in the mountains! I have the Osprey Ultralight Rain Packcover Large to fit my Osprey Aura 65L.
Trekking Poles
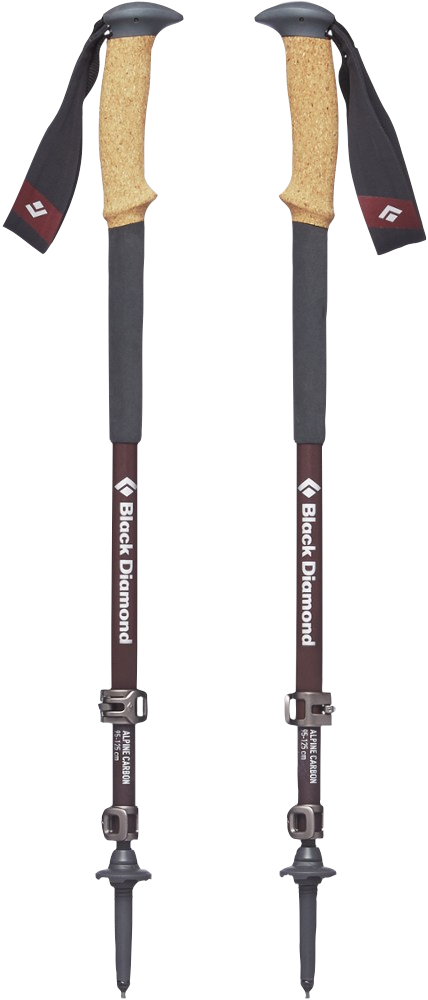
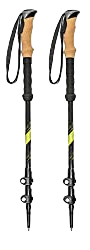
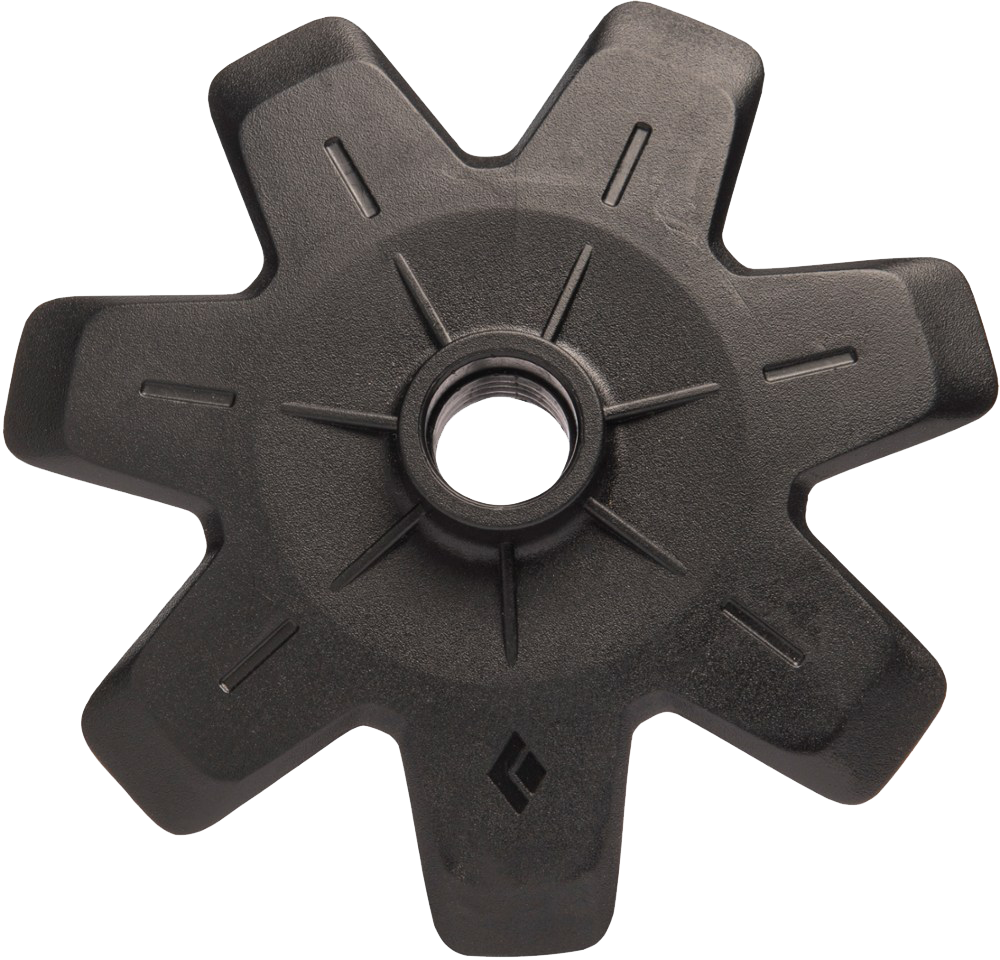
This is a must in the snow, especially if it’s icy. I prefer a cork grip as it will absorb any water if it gets wet. You’ll also want to make sure that the poles are “powder basket compatible”. When hiking in deep snow, a powder basket will prevent your poles from getting stuck with every step. My favorite trekking poles are the Black Diamond Alpine Carbon Cork. They work for every season and are all around an amazing choice. The powder baskets are sold separately if you need them.
If you’re looking for a budget-friendly option, the Cascade Mountain Tech Trekking Poles – Carbon Fiber are a great option and also “powder basket compatible”.
SLEEP:
Tent + Footprint
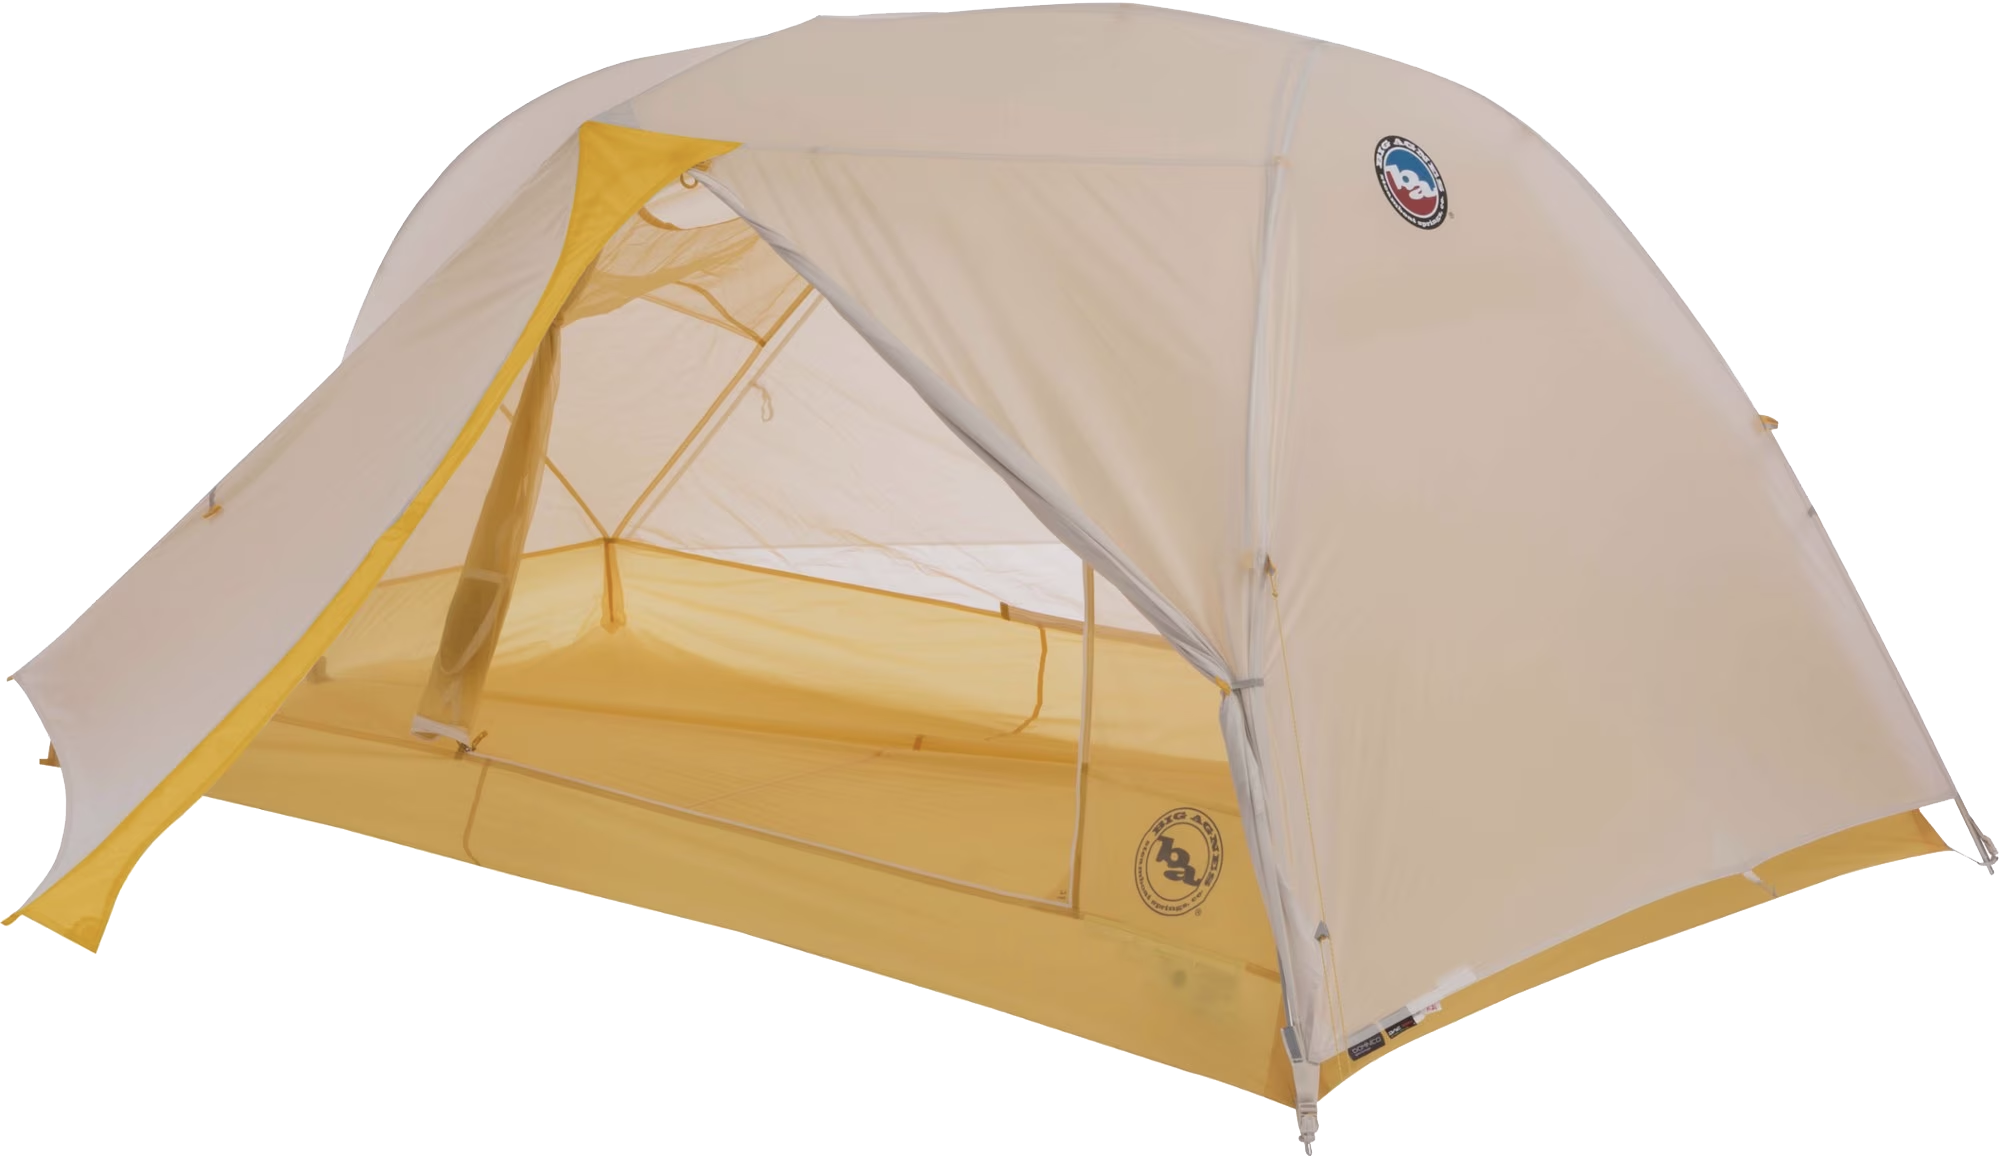
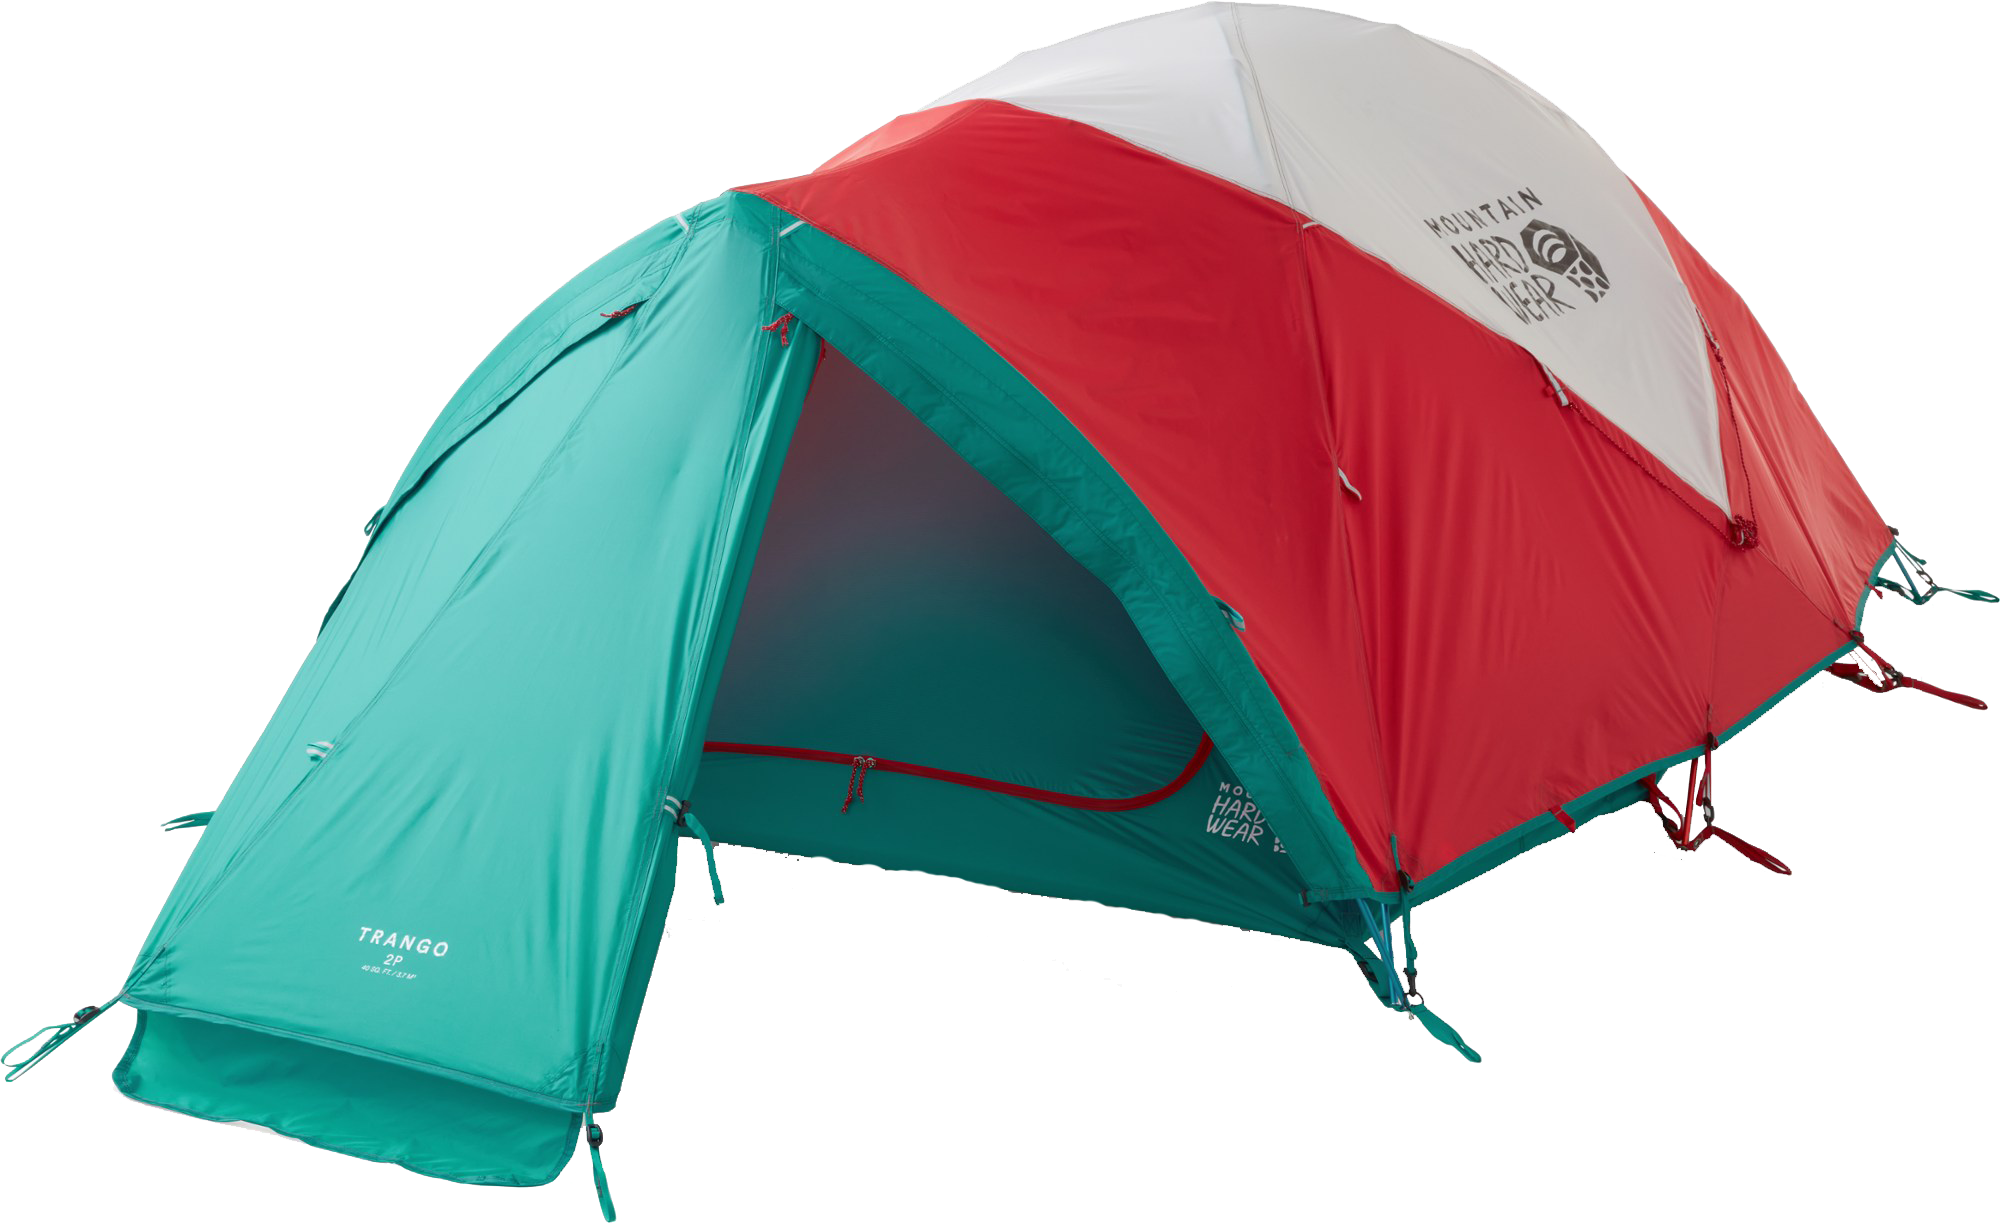
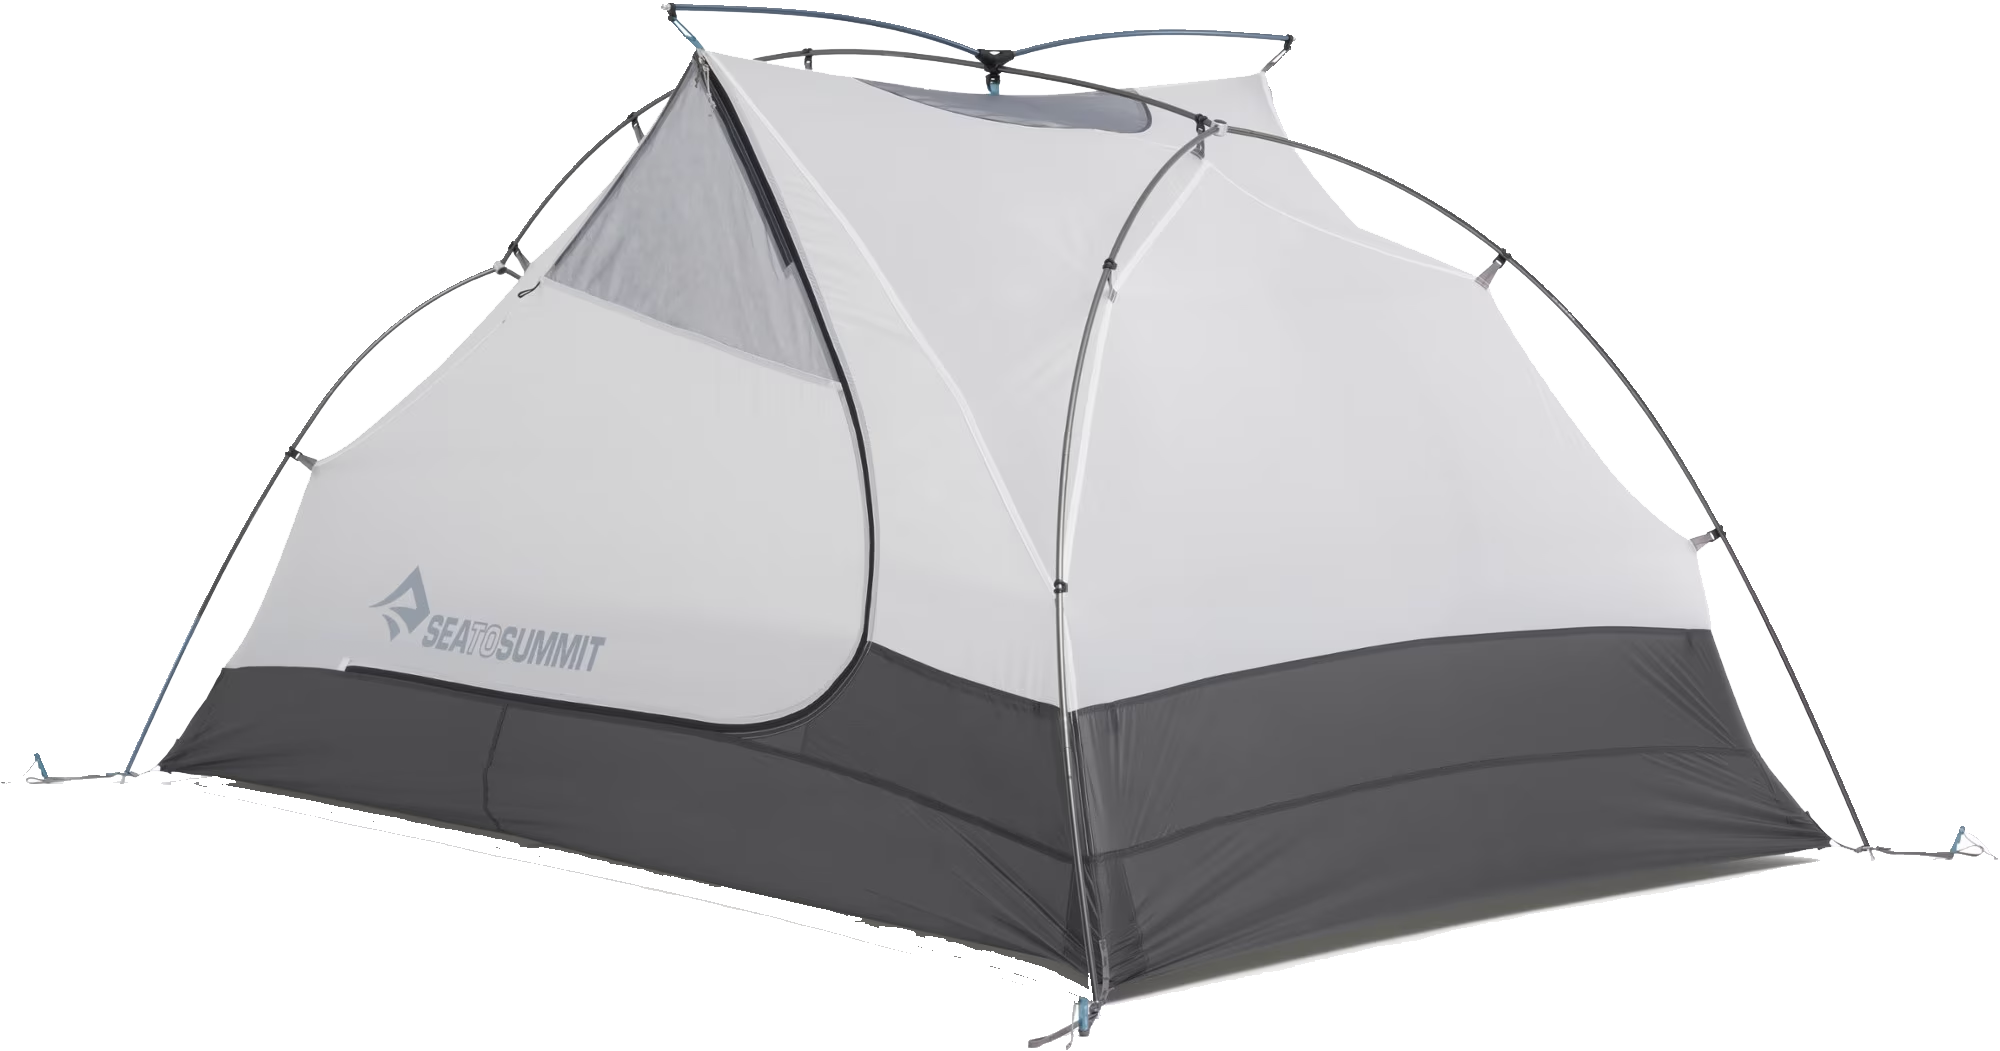
You’ll want a tent that can withstand whatever weather conditions you’re heading into. For the most part, a 3-season tent will work. The Big Agnes Tiger Wall UL2 is a great choice. Besides some heavy snow weighing down the top of the tent, it should hold up well. If you’re heading into a big storm or strong winds, I’d recommend a 4-season tent. The fabrics are thicker and poles are sturdier. The only downside to 4-season tents is that they’re heavier and more expensive. Check out the Sea to Summit Telos TR2 Plus or the Mountain Hardwear Trango 2 or the. You may even want to get some snow stakes to hold the tent down!
Make sure to get the tent footprint that goes with whichever tent you get to keep the bottom of your tent dry and protected from wear and tear!
Sleeping Bag
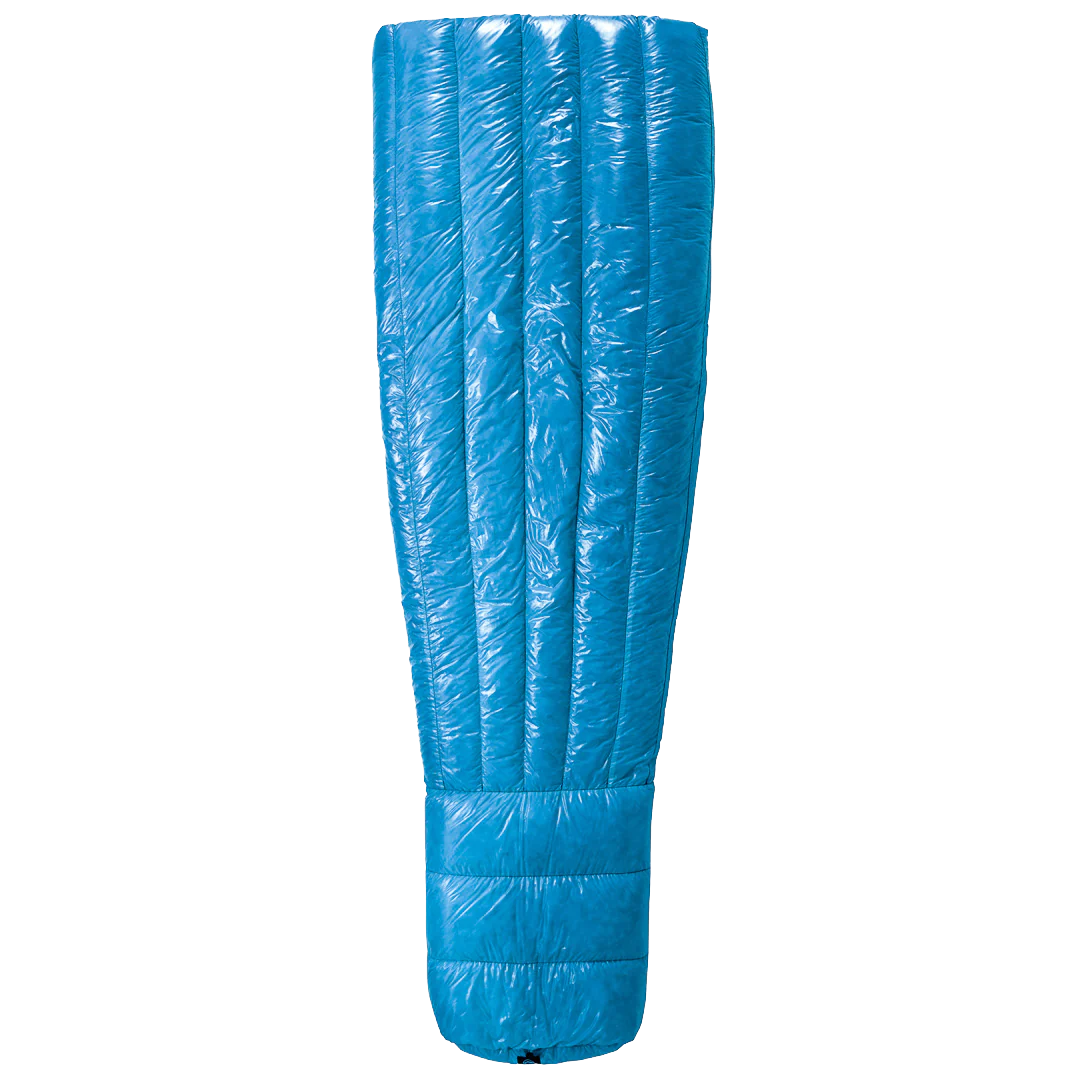
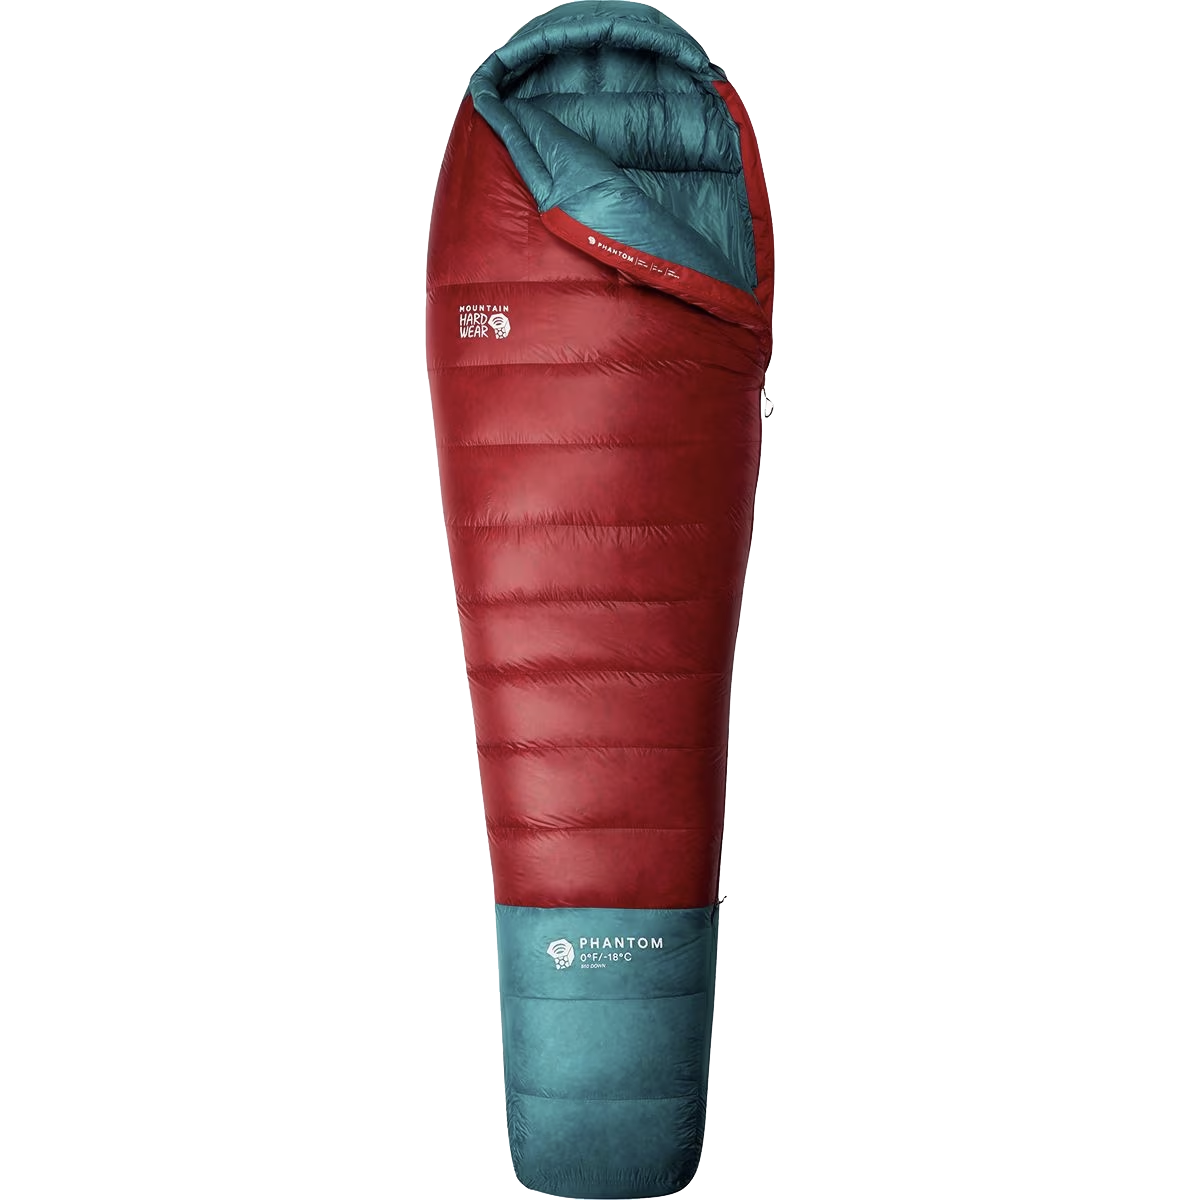
There’s nothing worse than sleeping in the freezing cold without a warm sleeping bag. Your bag’s temperature rating should normally be at least 10 degrees lower than the coldest temperature you’re expecting to encounter. I have the Zpacks 10F Classic sleeping bag and absolutely love it. I pair it with my sleeping bag liner for a final rating of 5 degrees (tested it down to 14 degrees and wasn’t too cold). If you plan to be in even colder temperatures, check out the Mountain Hardwear Phantom 0 sleeping bag.
Sleeping Bag Liner
I highly recommend this for winter backpacking. The Cocoon Silk Mummy Liner will add 10 degrees to your sleeping pad and keep your bag cleaner.

Cocoon Silk Mummy Liner
Sleeping Pad
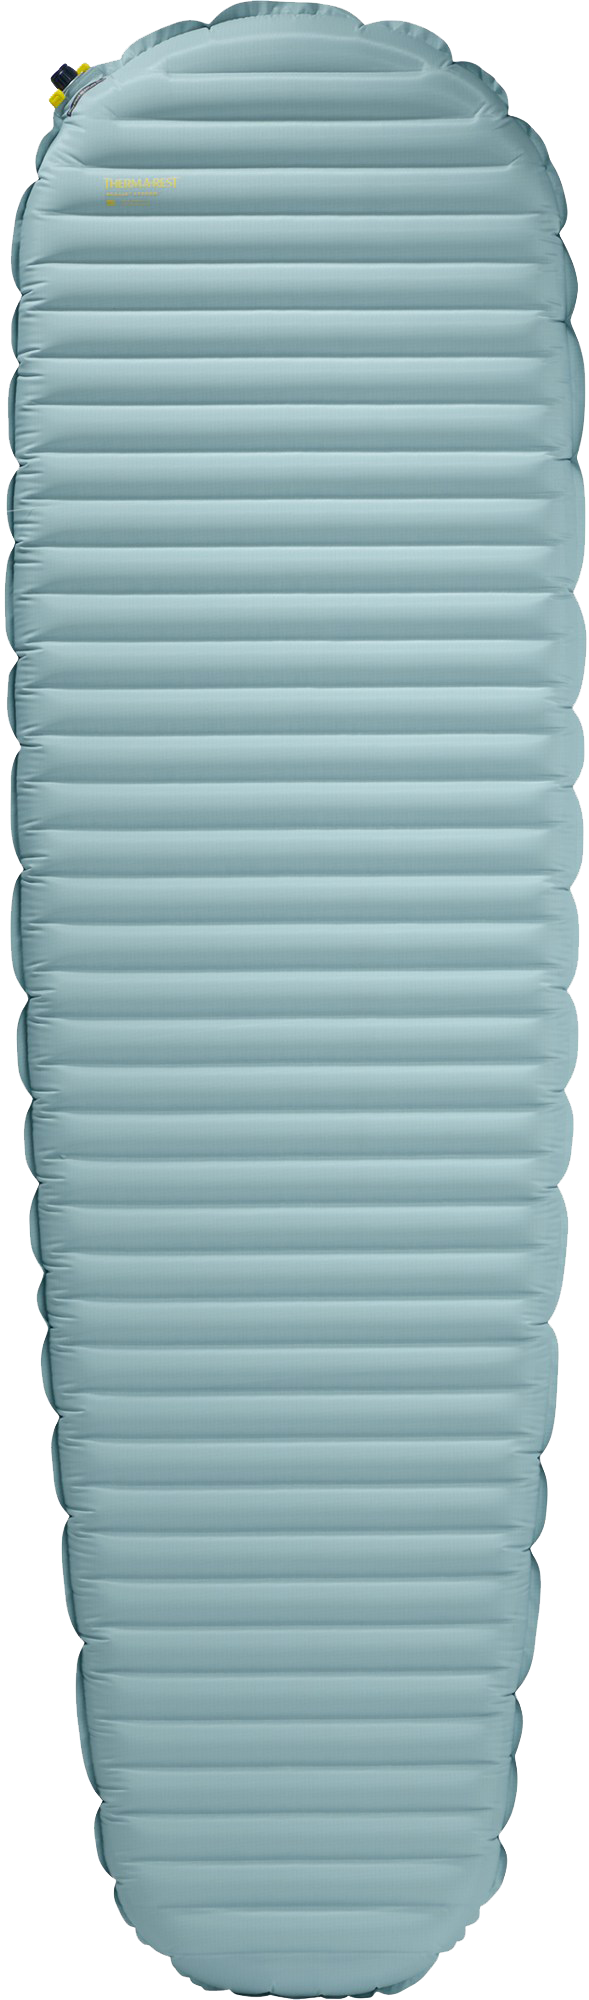
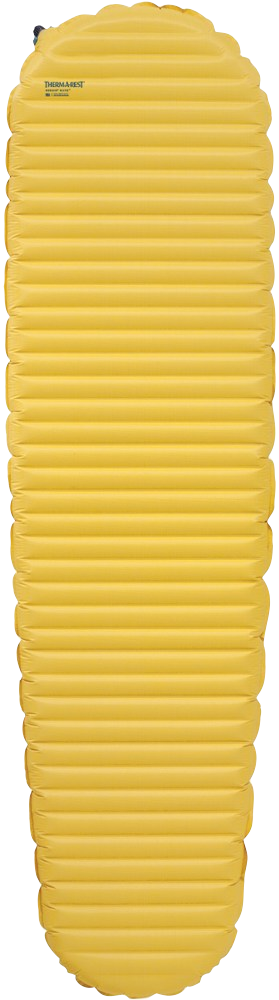
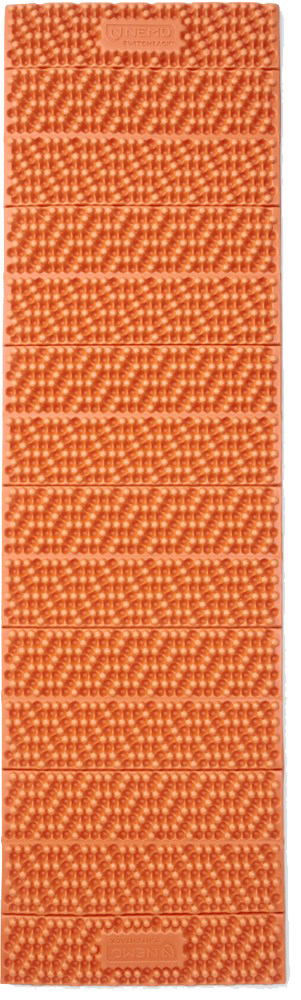
The higher the R-value the better. No one wants to sleep on a cold ground. The Therm-a-Rest Neo Air XTherm is a great option for winter, with an R-value of 7.3. If you don’t get as cold, the Therm-a-Rest Neo-Air Xlite is another great choice with an R-value of 4.2. If you’re heading somewhere extremely cold and want more insulation, you can also bring a closed-foam cell pad to place underneath the air pad. The Therm-a-Rest Z Lite Sol or Nemo Switchback Sleeping Pad are both good options.

Pillow
I’m so happy with my choice of pillow. Sea to Summit Aeros Ultralight Pillow. It’s only 2.5oz., so comfortable, and fits right into the top of my sleeping bag.

Sea to Summit Aeros Ultralight Pillow
KITCHEN:
Cooking system + Fuel
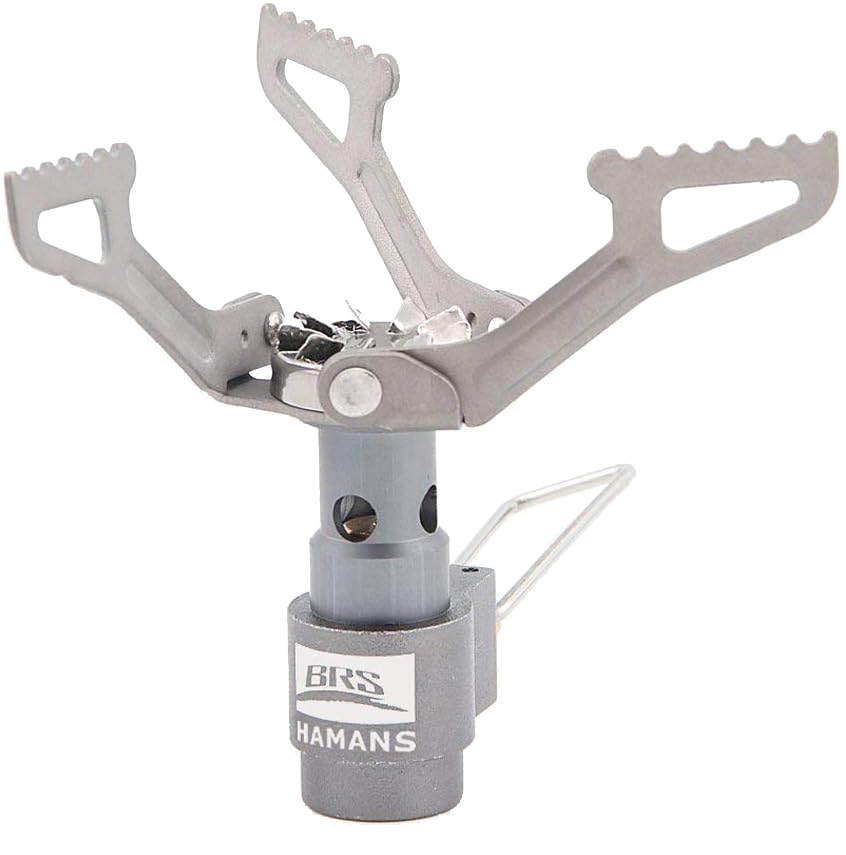
The BRS Stove is small, lightweight, and compatible with many different pots. If you want to stick with an ultralight setup, the Toaks 650mL Titanium Pot is a great option.
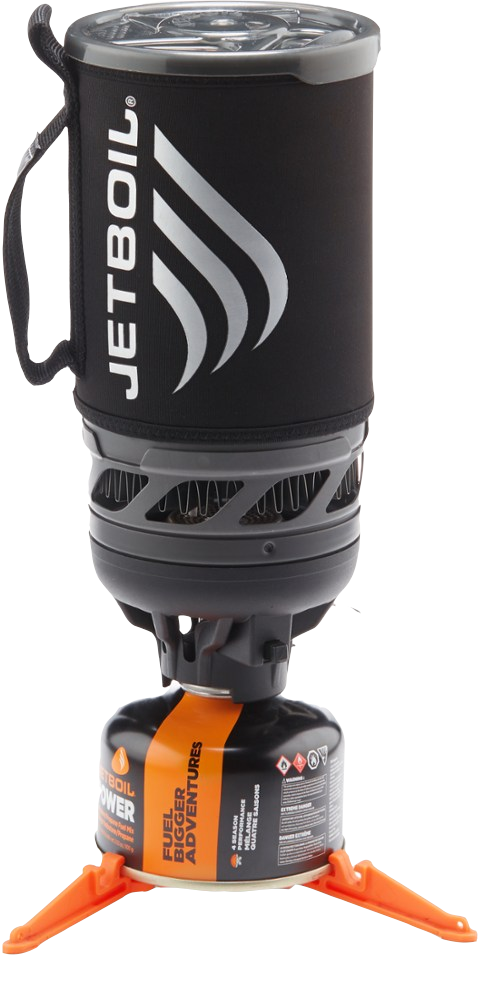
If you’re alright with adding a few ounces, the Jetboil Flash Cooking System is the most amazing product. It’s extremely easy to use and boils water in only 100 seconds which saves so much fuel.
If its cold out, make sure to always sleep with your fuel or it may stop working!
Mug
I use the GSI Outdoors Infinity Backpacker Mug and it keeps my coffee and hot chocolate hot forever. Added bonus that it only weighs 3.5oz.

GSI Outdoors Infinity Backpackers Mug
Spork
The longer the better. Trust me, you’ll want those lasts bits of food at the bottom of the bag at the end of a long day. Snow Peak Titanium Spork – Long is perfect.
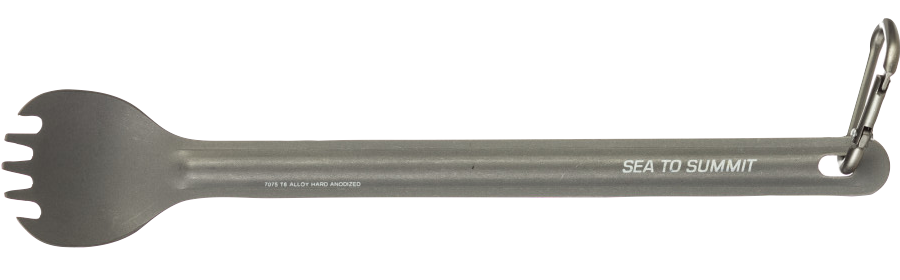
Snow Peak Titanium Spork - Long
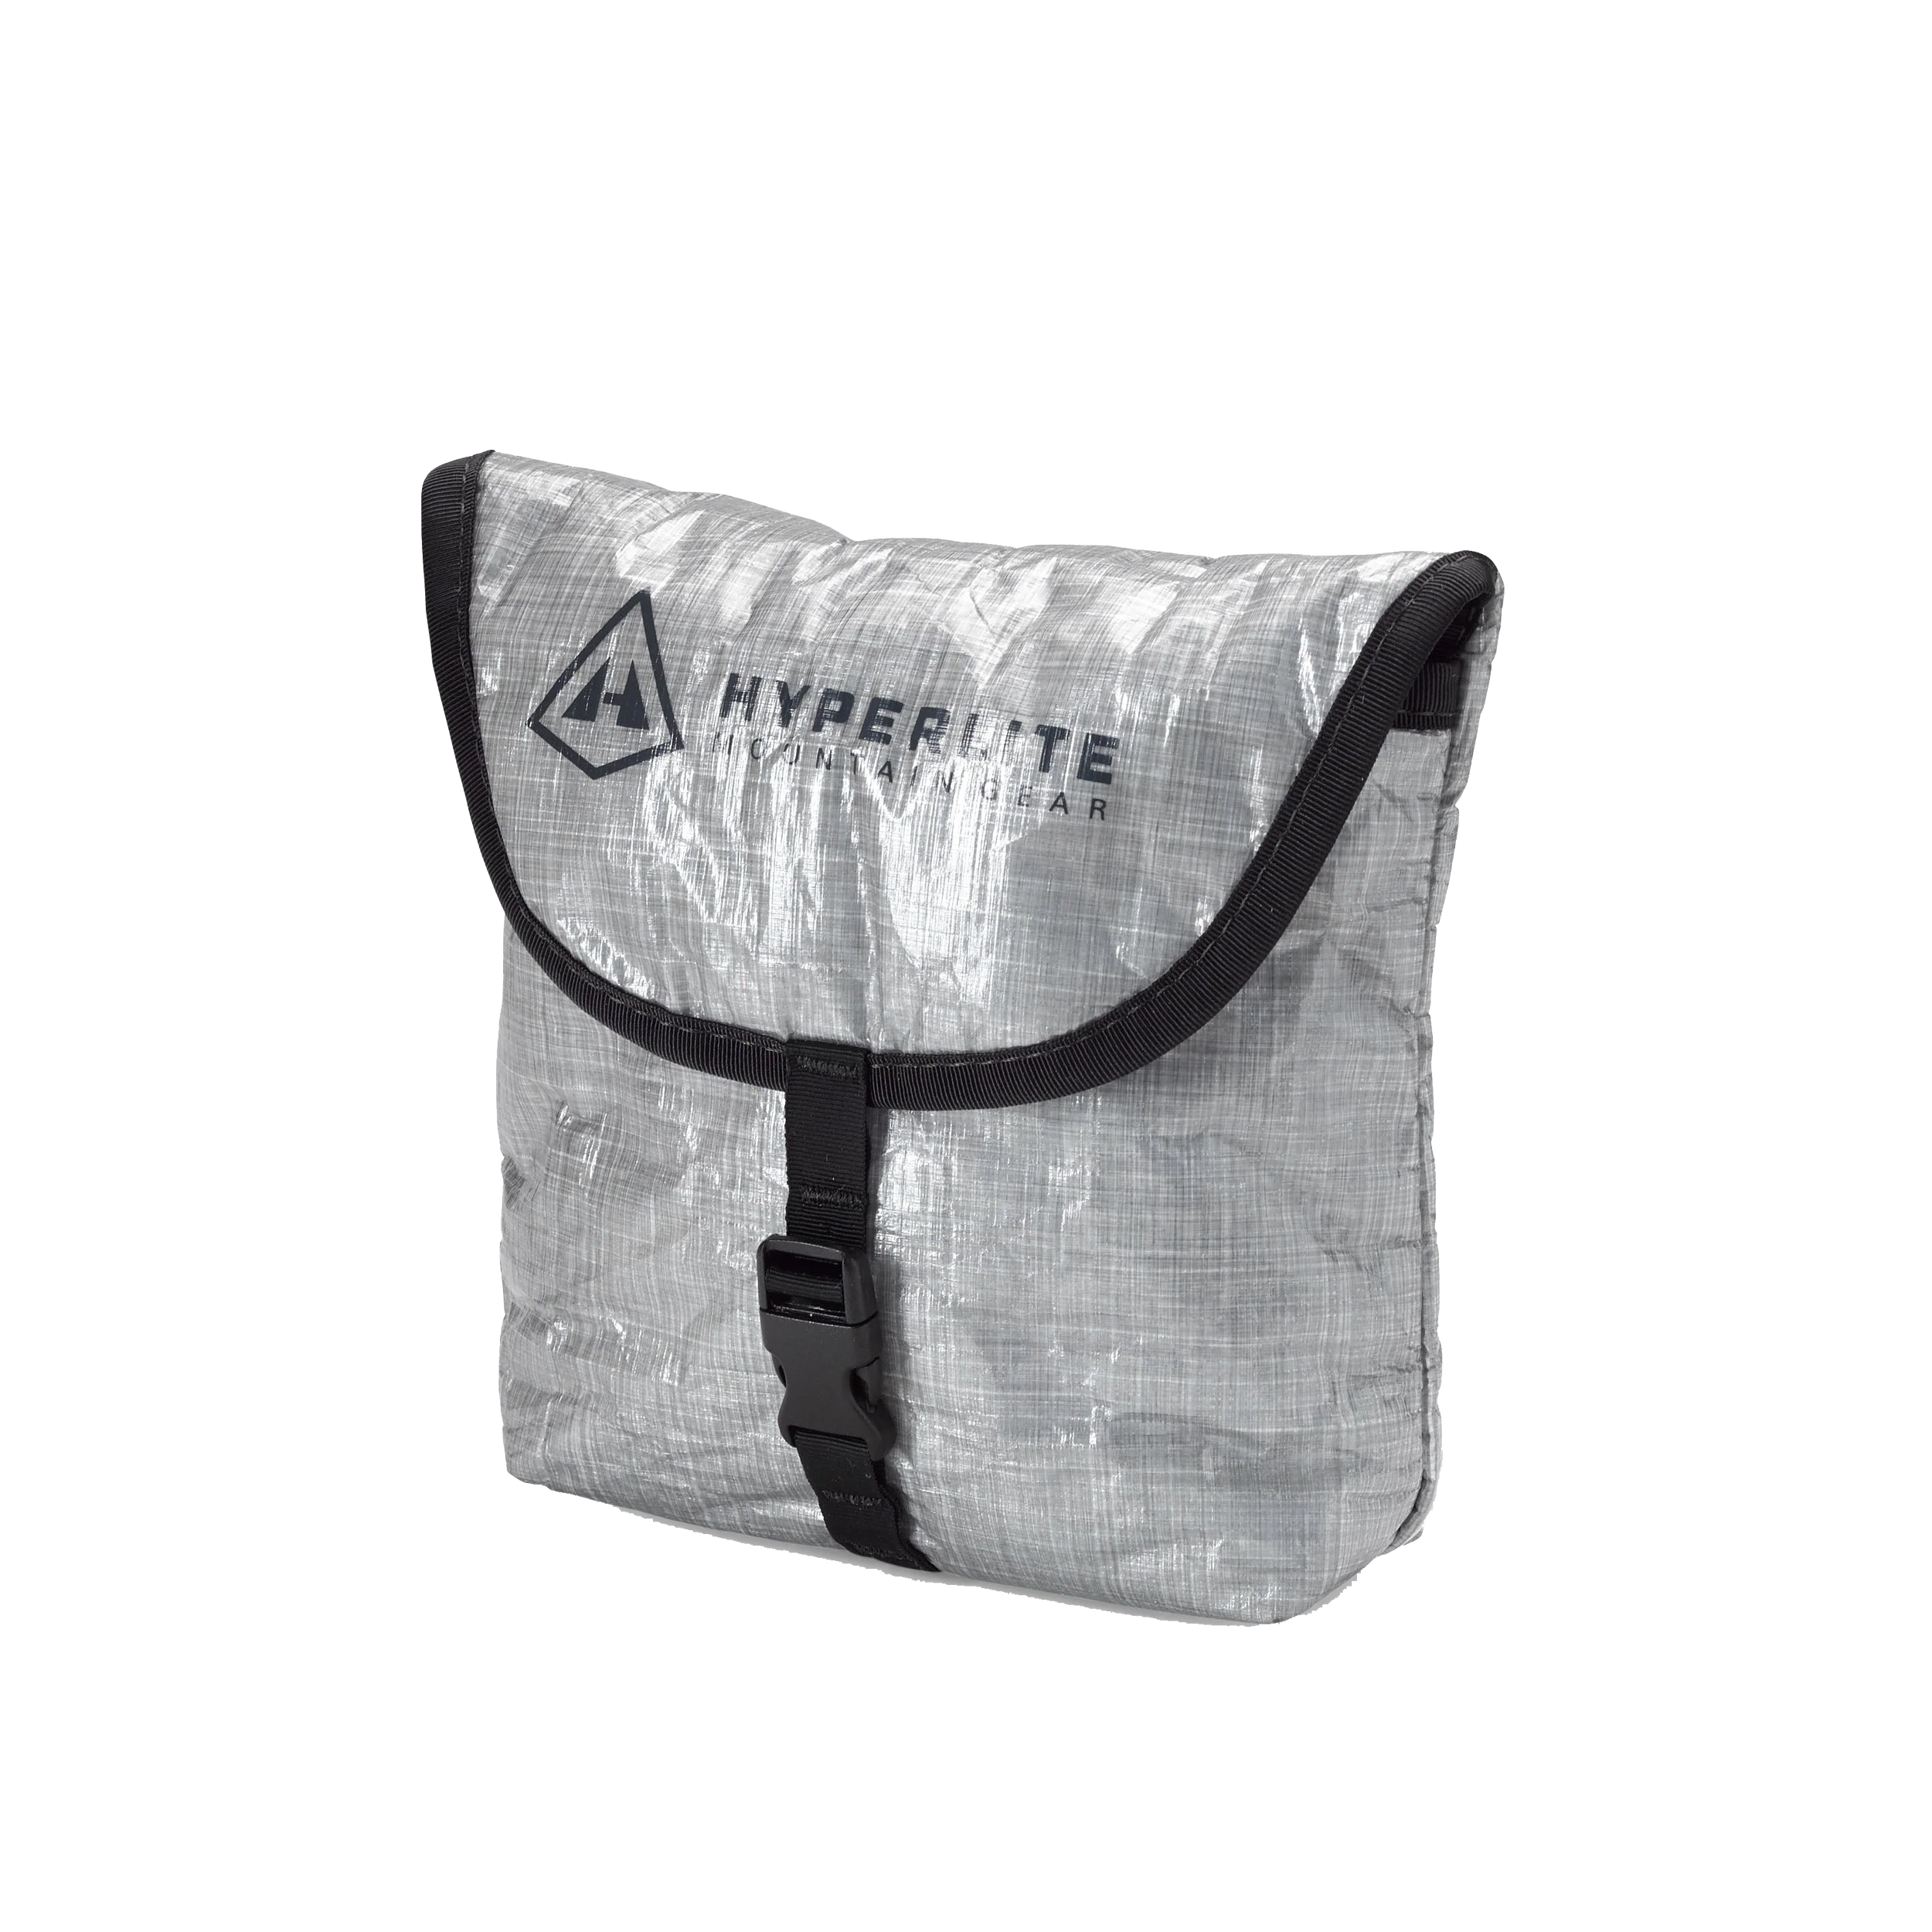
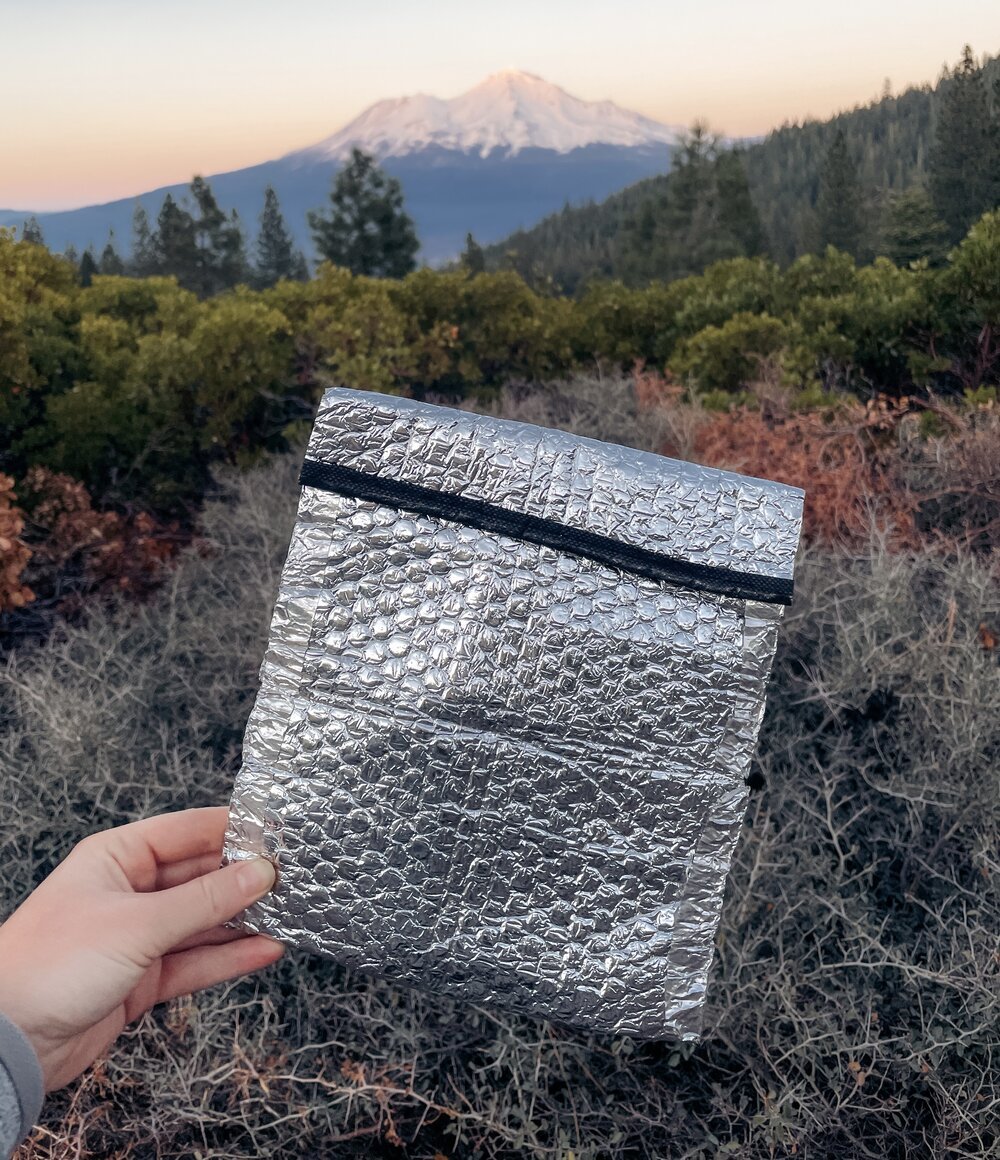
Cozy
Re-packaging all of your backpacking food into freezer bags is key to saving space and weight. However, once you re-package, there’s no place to “cook” your food after adding hot water, especially in the cold. I use the Hyperlite Cozy as it fits a freezer bag perfectly and lasts a long time. However, in the past I’ve used a DIY cozy that fit a freezer bag perfectly and could be reused for every meal. Click here to see directions on how to make your own!
Bear Canister (check regulations before you go – you may not need)
Even in the winter, some areas still require bear canisters. It’s less likely you’ll see a bear at this time, but it’s still possible. The bear canister will take up a lot of your backpack so if you do need one, be prepared. For a weekend trip, you can use a BV450 Bear Vault. It’s heavy and bulky but necessary to keep the bears away!
It’s SO difficult to open a bear canister in the cold so use a knife, rock, or spork to push it open.

BV 450 Bear Vault
WATER:
It’s winter. Your water sources may be very limited. If there’s snow on the ground, thankfully that’s your water source. If there’s no snow on the ground but all the water sources are frozen, you’ll need to figure out a solution before heading out. Make sure to contact a ranger prior to your trip to determine water availability!
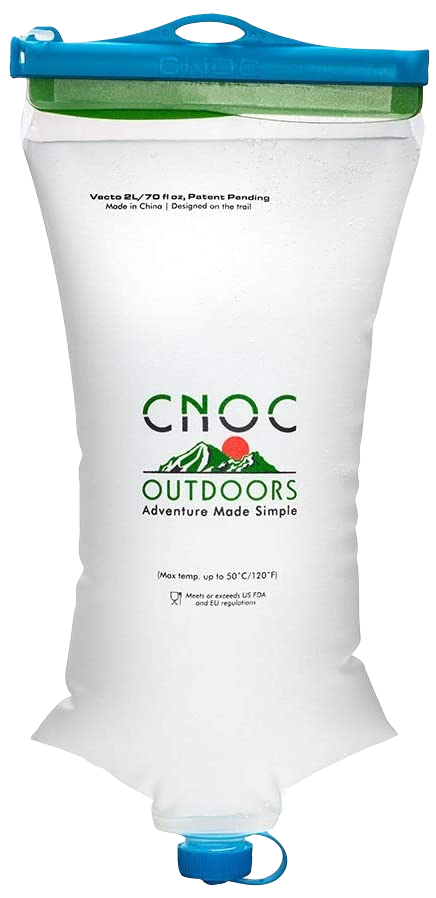
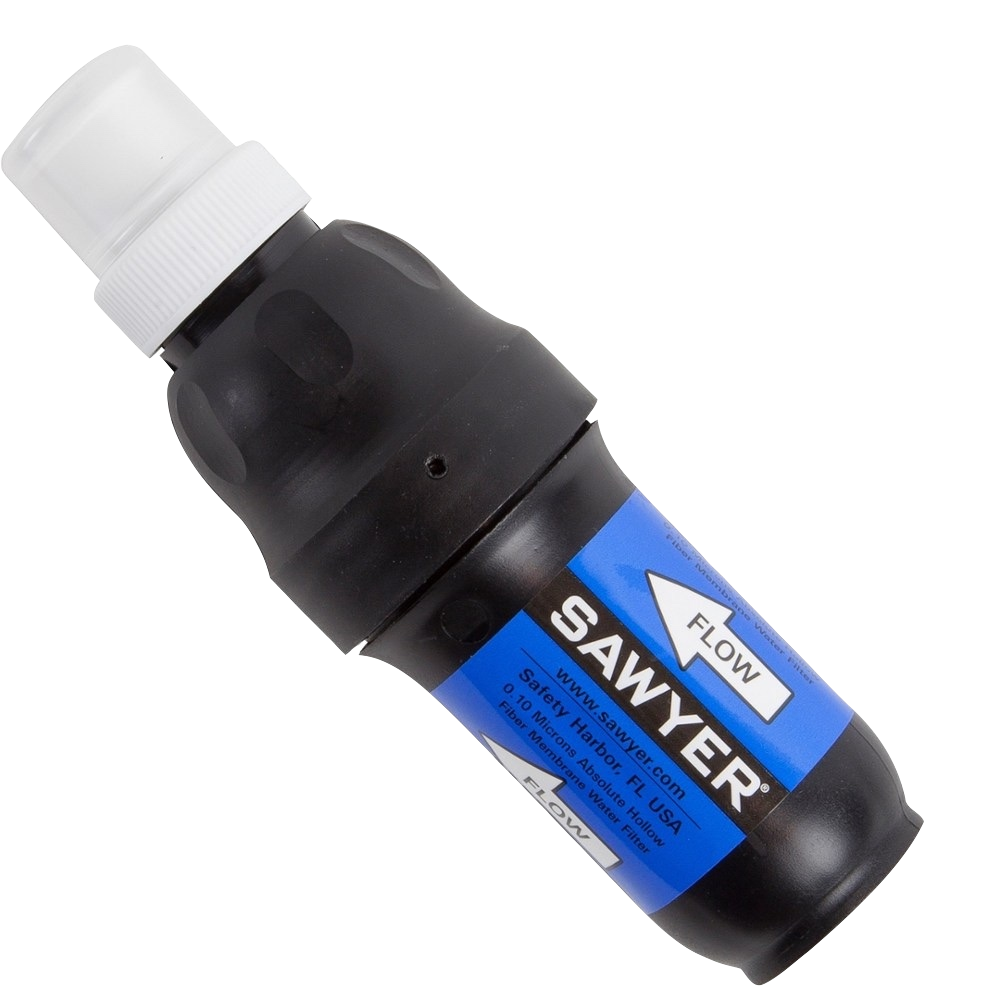
If there’s flowing water sources:
You can use a CNOC 2L Dirty Water Bag to collect “dirty water” from the water source, then filter the water using a Sawyer Squeeze Water Filter. If your Sawyer freezes, it will clog and stop working. Make sure to keep it in a warm place (especially at night). It’s extremely important to bring back-up water filters in the winter. You can either bring extra fuel to boil the water or iodine tablets.
If there’s snow on the ground:
Start by gathering clean, white snow then light your stove. Add a thin layer of snow to the bottom of the pot and hold it 1-2 cm. above the flame. Shake it around until it melts then add another handful of snow. Continue this process until you’ve melted a full pot. Boil the melted snow to filter it! Make sure to bring extra fuel if this is your method of collecting water.
If you follow this process, make sure to NOT start with a large amount of snow in the pot or you will end up with brown burnt snow.
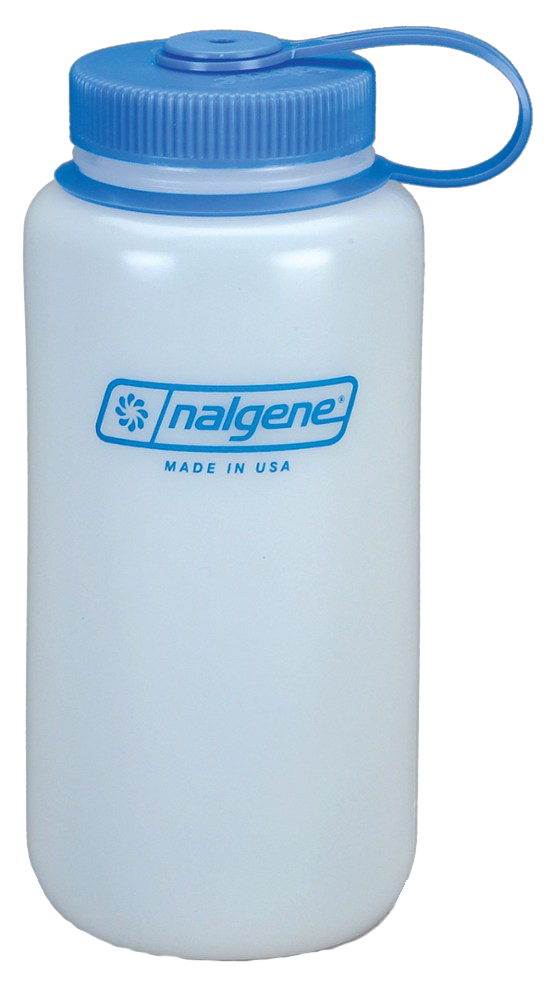
Water Bottles
Use water bottles and keep them inside your backpack to prevent freezing. Water reservoirs will freeze so they aren’t the best option. I’d recommend the Nalgene Ultralite Wide-Mouth water bottle. Nalgene’s are durable and can hold hot water.
ELECTRONICS:
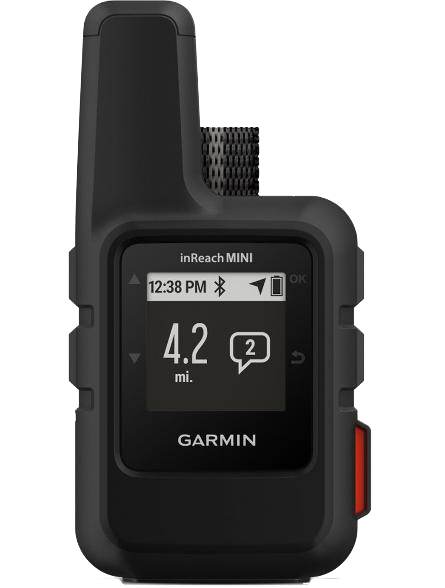
GPS Device
Always bring an emergency communication device out in the backcountry! So much could go wrong, especially in the cold and extreme weather conditions. If you’re in the snow, it’s extremely easy to lose the trail without a GPS.
Plus, your family will be happier to know you have one. I’d recommend the Garmin InReach Mini 2.
Portable Charger
If you’re heading out on a short weekend trip, the Nitecore NB 10000 Battery Pack should last you 2-4 days. Cold weather can zap the battery power of any electronics so make sure to sleep with everything inside your sleeping bag and close to your body.
Don’t forget your charging cords!

Nitecore NB10000 Battery Pack
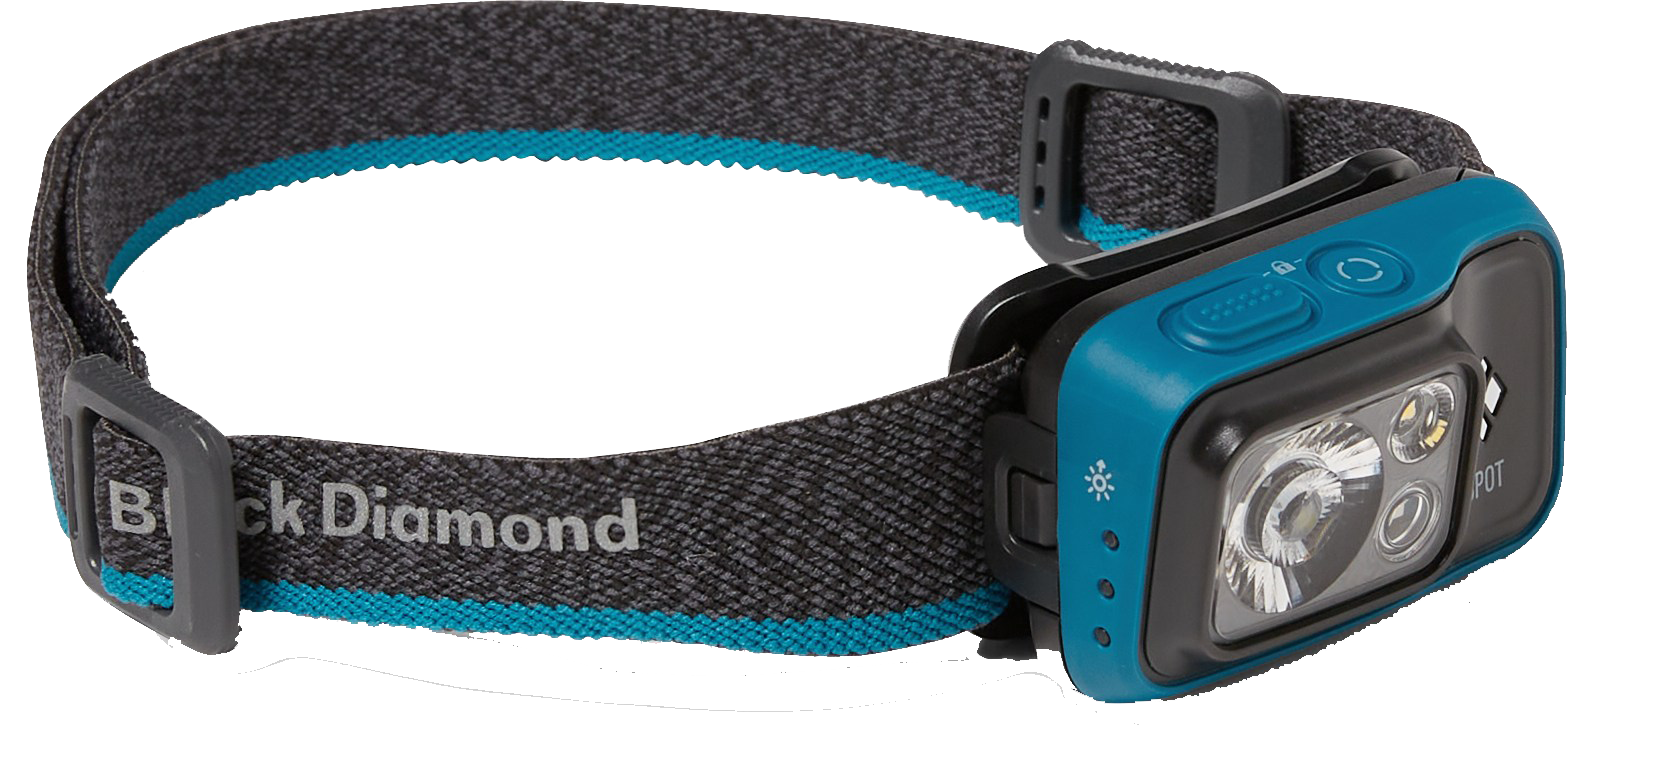
Headlamp
Winter hiking means less hours of daylight. You don’t have to stop to set up camp as soon as the sun goes down, but make sure you have a headlamp and are prepared to hike in the dark. If you’re hiking into the dark, make sure you’re ready for a quick drop in temperature. I use the Nitecore NU25 Headlamp. Another great option is the Black Diamond Spot 400 Headlamp.

CLOTHES:
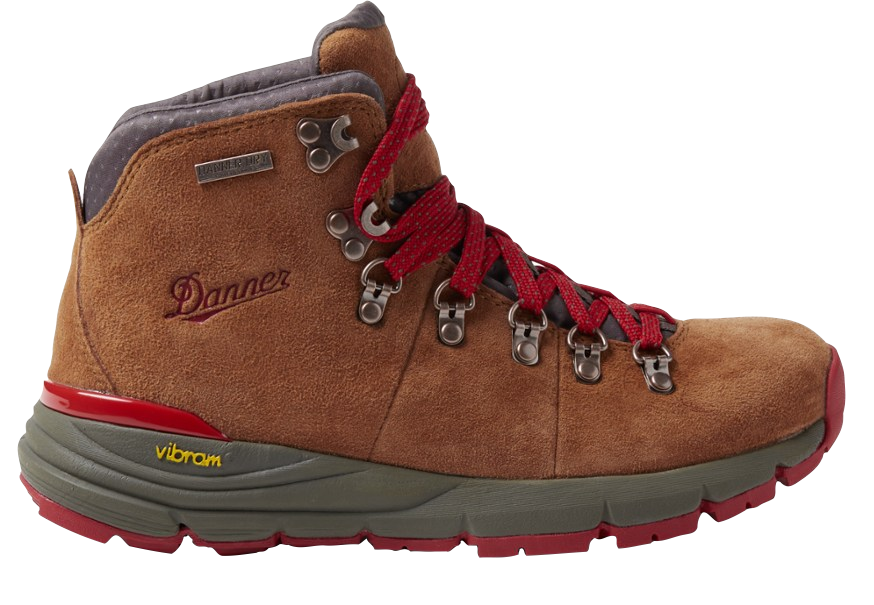
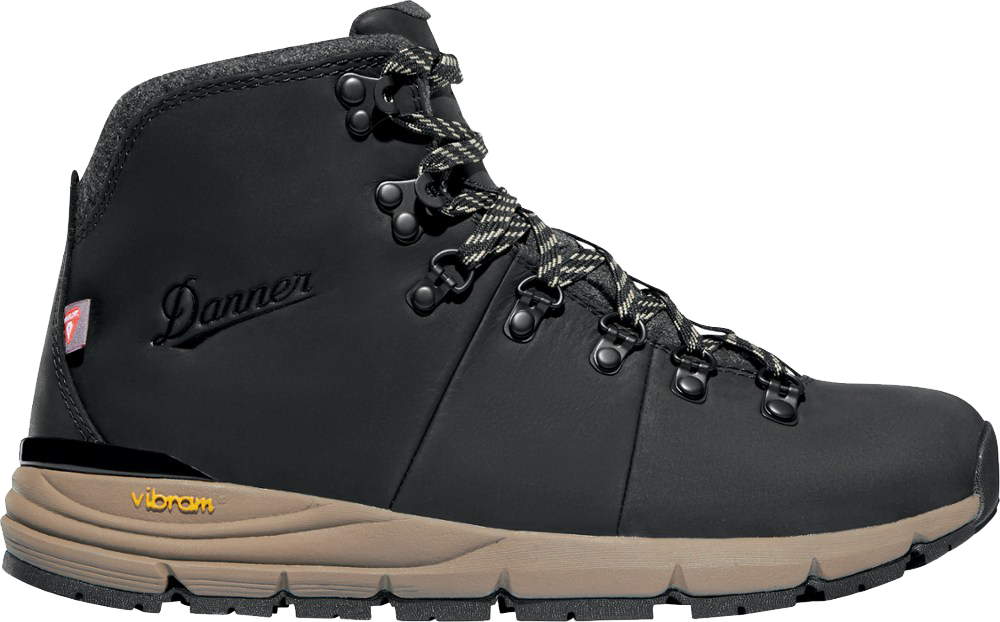
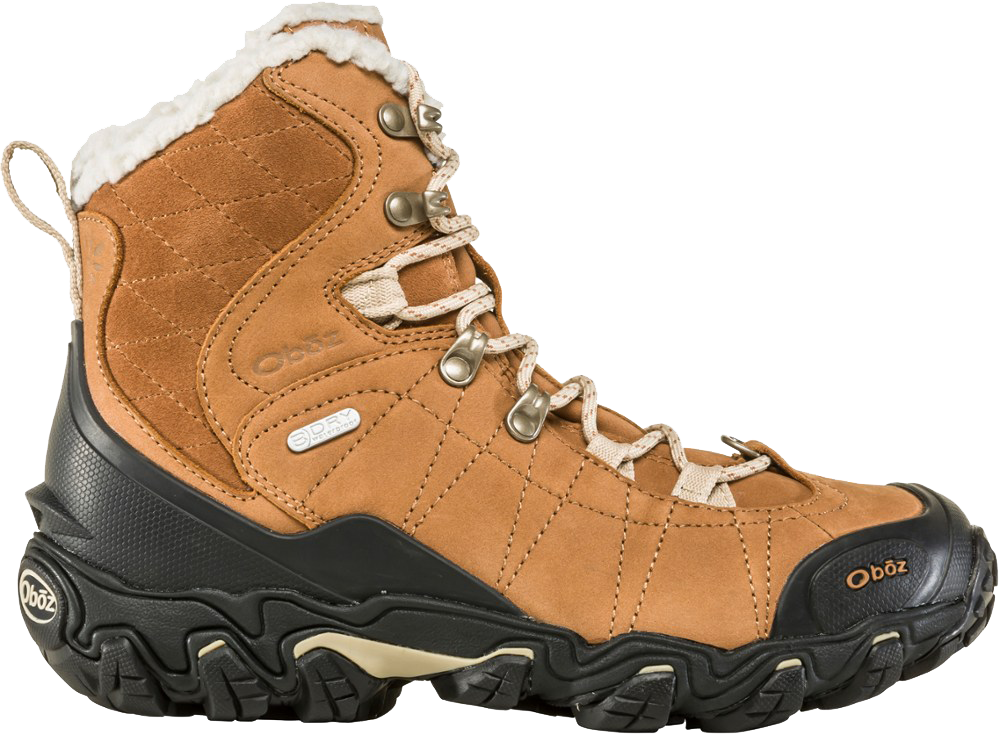
Hiking boots
As much as I love my trail runners, hiking boots are KEY for winter hiking. You can normally get away with normal hiking boots in the snow but for added insulation, I’d recommend a winter weatherized hiking boot. My normal hiking boots, Danner Mountain 600, have worked well for me in all winter conditions since they are Gortex. They are quick to dry and keep my feet (mostly) warm. For that extra warmth, the Danner Weatherized Mountain 600 or the Oboz Insulated Waterproof Boots are both great options.
As you all know, I am a huge fan of Altra shoes. They are zero drop with wide toe boxes. I’ve been looking at the Altra Lone Peak All-Weather Hiking Boots (boot version of my trail runners) and will provide my review once I give them a try!
Camp booties
At the end of a long day of backpacking, the first thing you’ll want to do is take off your hiking boots. Since it’s too cold in the winter to bring sandals, camp booties are a perfect alternative. I’d recommend the Enlightened Equipment Torrid Booties. They’re light weight, comfortable, and easy to slip on.

Enlightened Equipment Torrid Booties
LAYERS
This is the most important concept in winter hiking or backpacking. If you’re cold, you add layers. If you’re hot, you take off layers. The key is to find comfort. If you sweat too much, your clothes will be wet which could cause hypothermia. If you aren’t wearing enough clothing, you could get hypothermia. Bring lots of options and find that sweet spot.
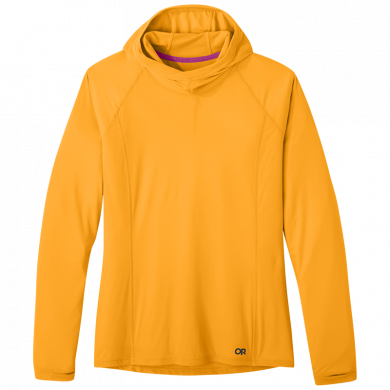
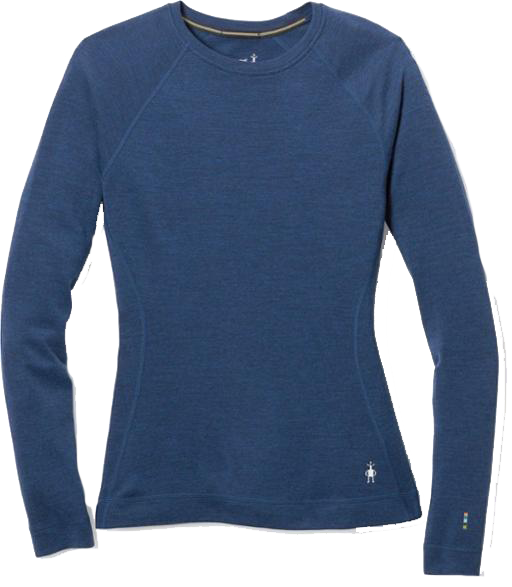
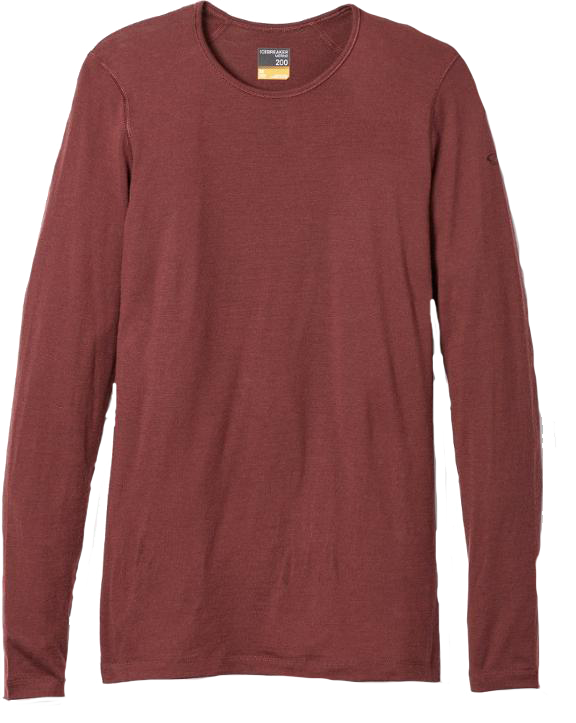
Base Layer Top
This is your most important layer. It must be breathable and sweat-wicking in order to remove sweat from your skin and keep you dry. Synthetic fabric or merino wool is best. If you wear cotton, as soon as the shirt gets damp, it’ll lose its insulation. My favorite base layers are the Outdoor Research Echo Hoodie or the Icebreaker 200 Oasis Top. If you’re headed somewhere extremely cold and want a thicker base layer, the Smartwool Merino 250 Base Layer is a great choice.

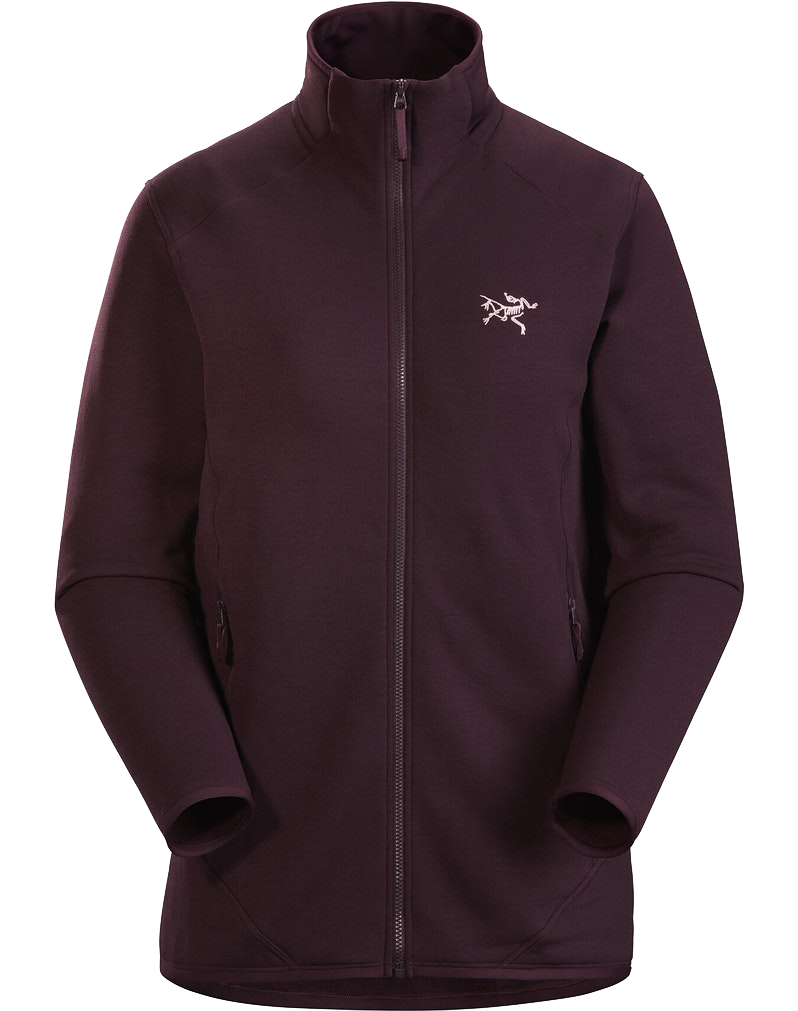
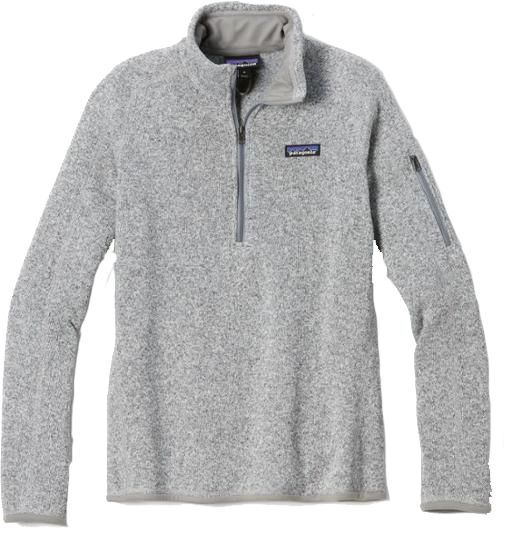
Mid Layer Top
This layer tends to be added and subtracted the most. If you’re too hot to wear it hiking, you’ll be happy to have it during your lunch break. Mid-layers are meant to allow excess body heat and moisture to escape through the fabric. This allows you to stay warm and dry. I use a fleece mid-layer like the Arc’teryx Kyanite AR Jacket . Another great option is the Patagonia Better Sweater.
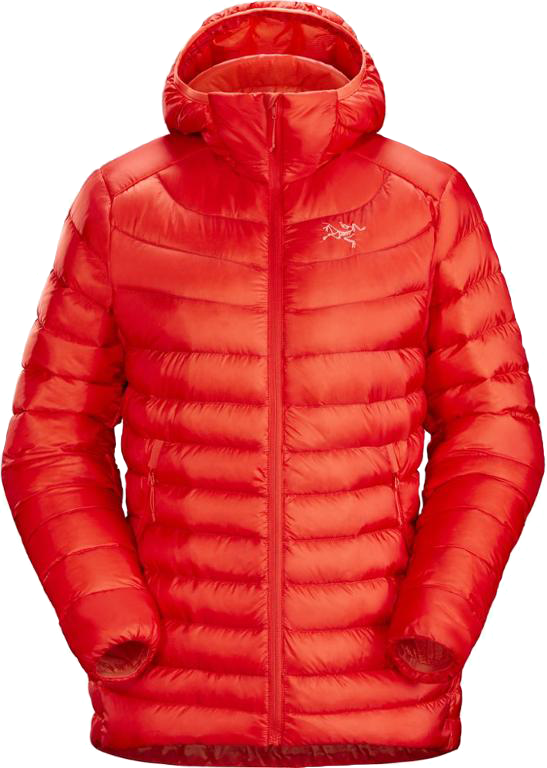
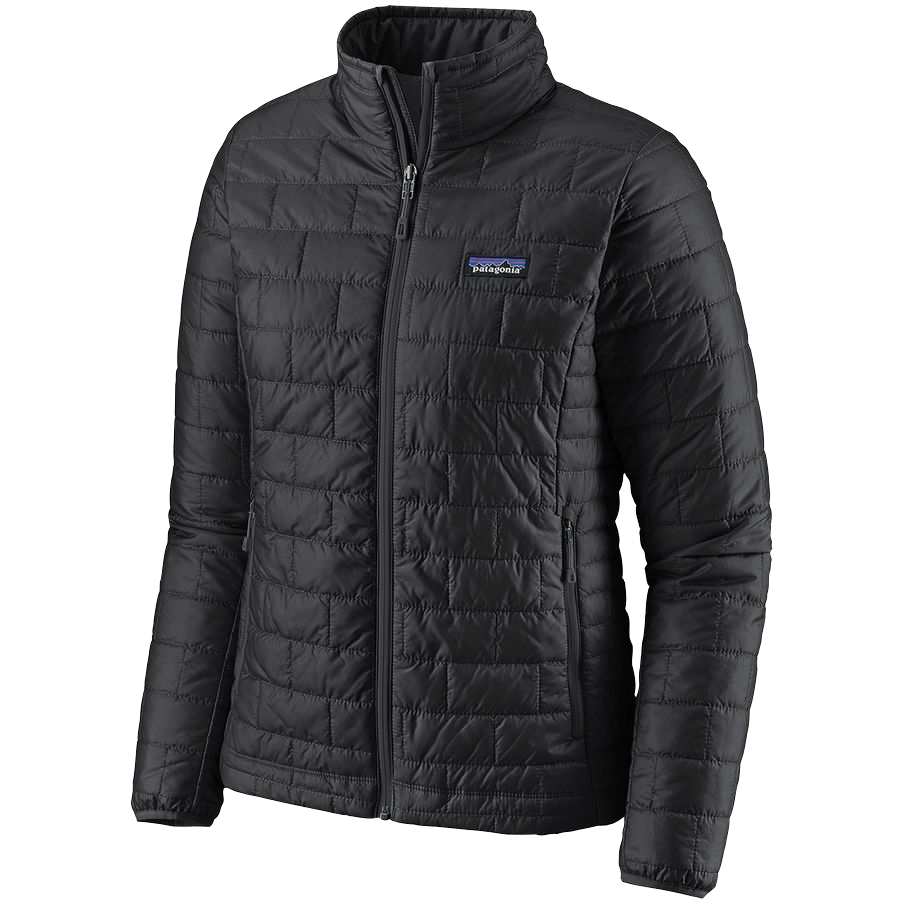
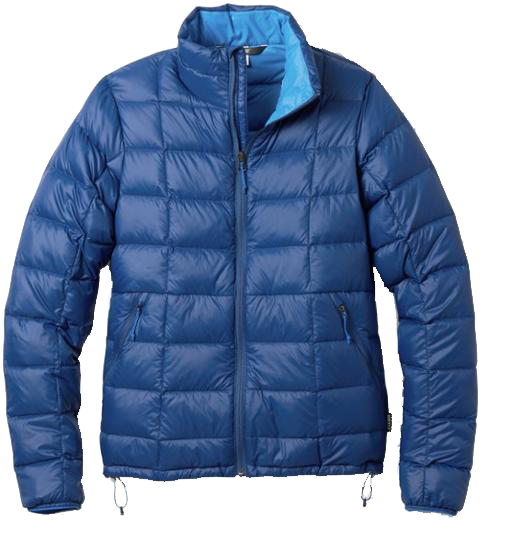
Insulating Jacket
Your insulating jacket is key to keeping you warm. Normally this layer is made of down (warmest) or synthetic down. If down gets wet, it won’t be warm. If you are headed somewhere wet or humid, a synthetic down jacket is a better option. I use the Arc'teryx Cerium LT (down) or the Patagonia Nano Puff (synthetic down). A budget-friendly option is the REI Co-Op 650 Down Jacket (down).
Awesome tip: place your insulating jacket at the bottom of your sleeping bag at night to keep your feet warmer! It fills the empty space which helps with insulation.
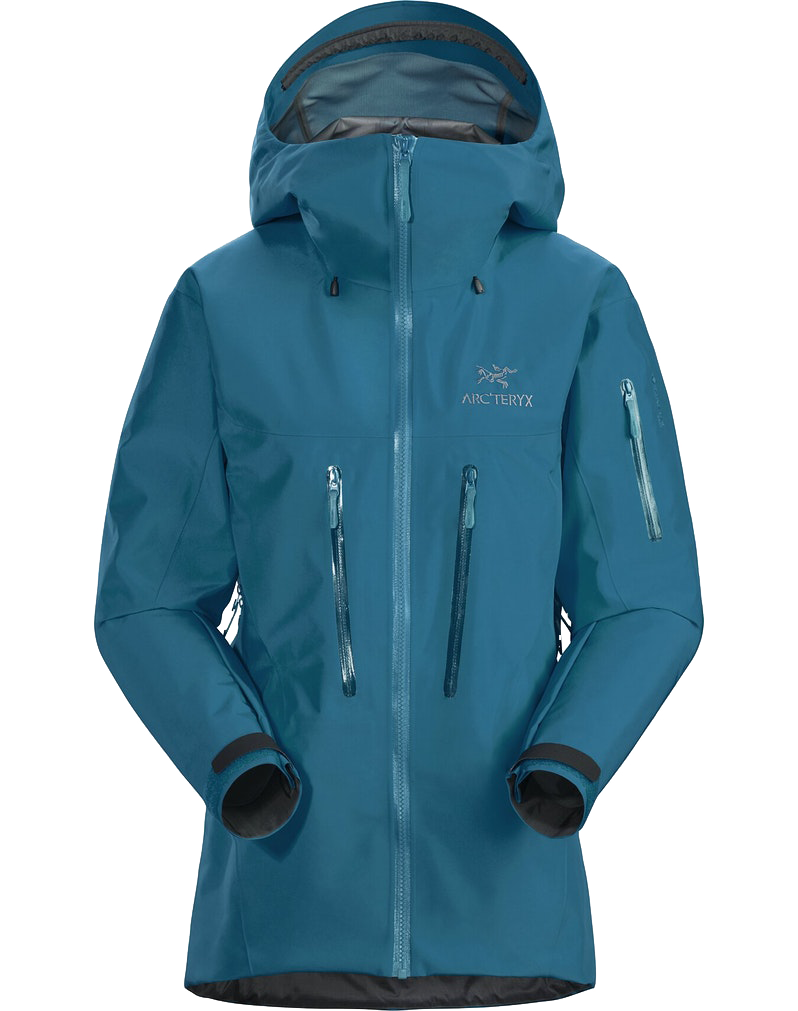
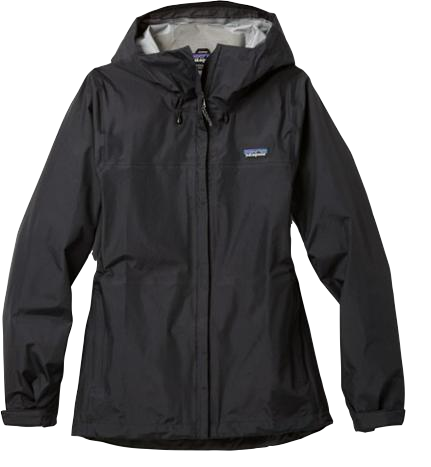
Outer Shell Jacket
If it’s snowing, sleeting, hailing, raining, or windy, an outer shell will keep you and your other layers dry. This layer should be waterproof, breathable, and lightweight. The type of waterproofing to look for is GORTEX (completely waterproof membrane).
I love my Arc’teryx Alpha SV Jacket for extreme conditions. It’s not cheap but it’s worth it. If you’re in mediocre conditions, the Arc’teryx Beta LT Jacket or Patagonia Torrentshell 3L Jacket are great options. Make sure to keep in mind how many layers you’ll be wearing underneath when choosing a size!

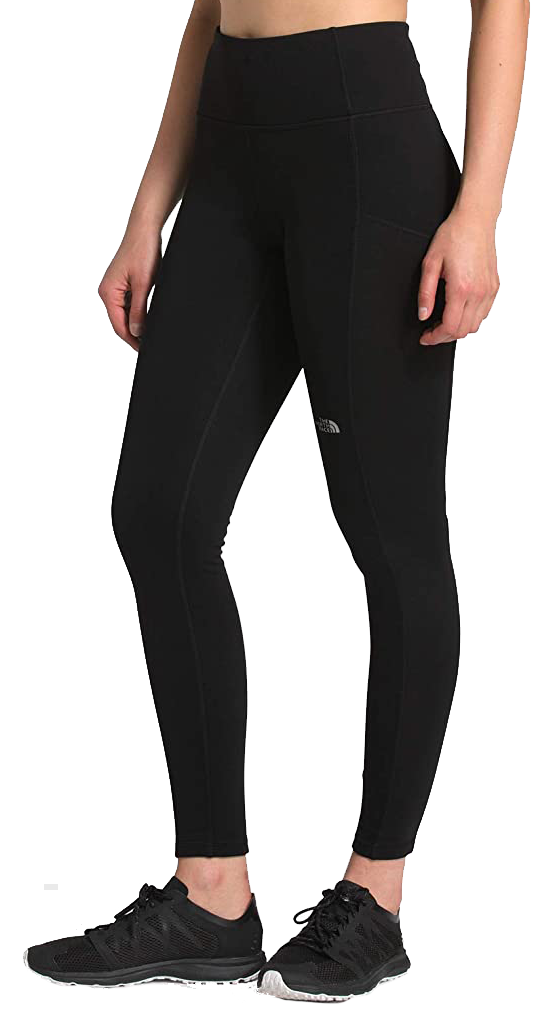
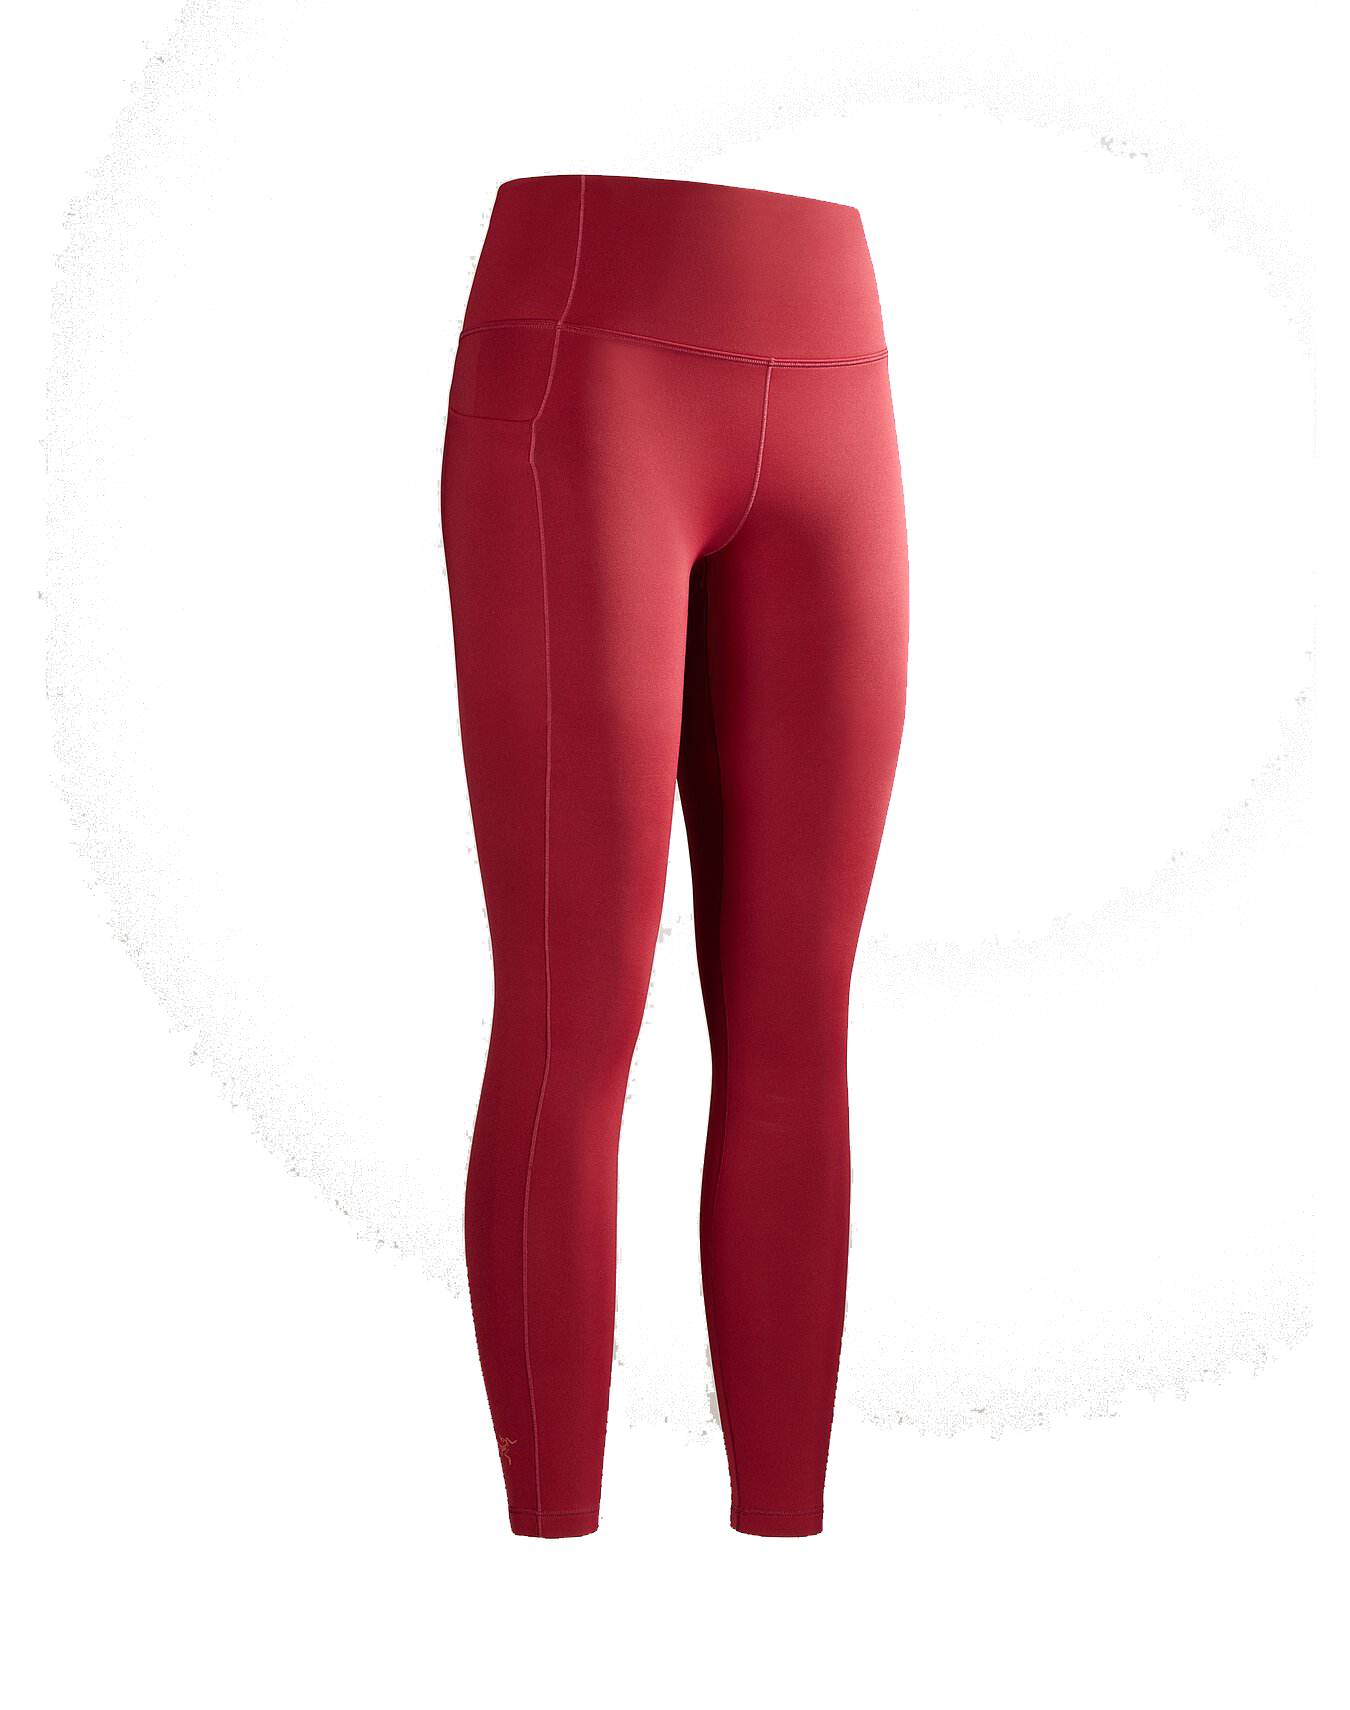
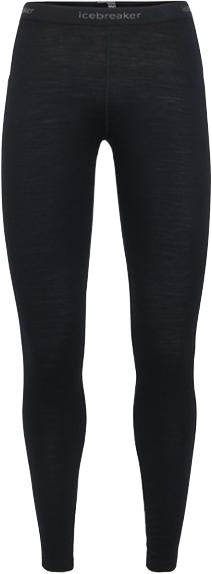
Base Layer Leggings
I wore normal leggings on my first snow hike and my legs were numb within ten minutes. It’s really important to not only layer on top but also on bottom. I recommend a fleece lined and/or wool leggings as your base layer. I like the North Face Winter Warm High-Rise Tights or Arc’teryx Essent Warm High-Rise Leggings layered over my Icebreaker 200 Oasis Leggings.
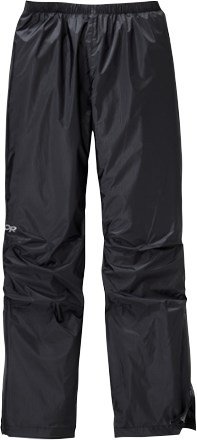
Outer Shell Pants
If it’s raining, snowing, or extremely windy, you’ll want another bottom layer. This shell will keep your legs dry and you warmer. If the weather is okay, your base layer leggings may be enough. I use my OR Helium Rain Pants when it’s just raining or windy. In snowy conditions or times I need more insulation, I opt for my Arc’teryx Alpha Pants. They’re lightweight, Gortex, and comfortable.

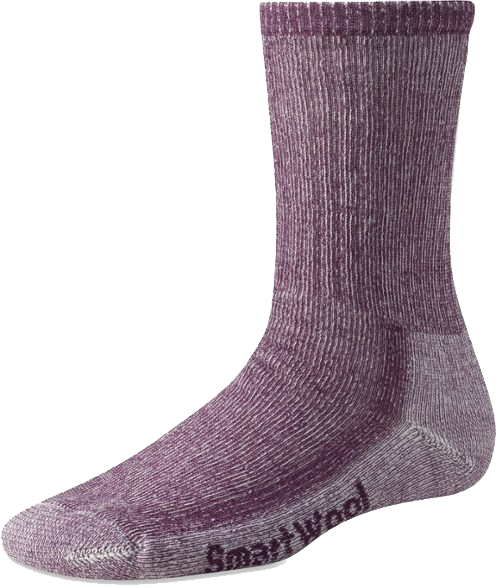
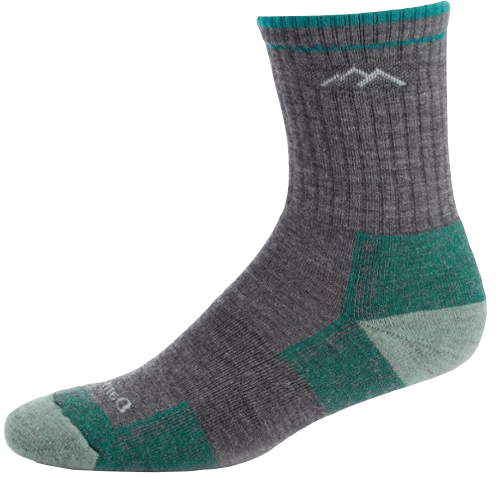
Wool Socks
If it’s cold, wear thick socks. The thicker the sock, the more insulation. I like these Smartwool Hiking Socks. If it isn’t extremely cold, I stick with my Darn Tough socks. Both types are made of merino wool which is breathable and helps wick away moisture. You CAN double layer socks for more insulation, but make sure they don’t cause your boots to fit too tight or it’ll cut off your circulation. Always carry extra hiking socks in the winter just in case they get wet!
It’s also important to carry a dry and warm pair of socks to wear while sleeping! My feet are always the first thing to get cold at night. I love my Smartwool Mountaineering Socks.
Sports Bra
Whatever works best for you! I love the Lululemon Free to be Wild Bra. It’s comfortable and has just the right amount of padding/support.

Lululemon Sports Bra
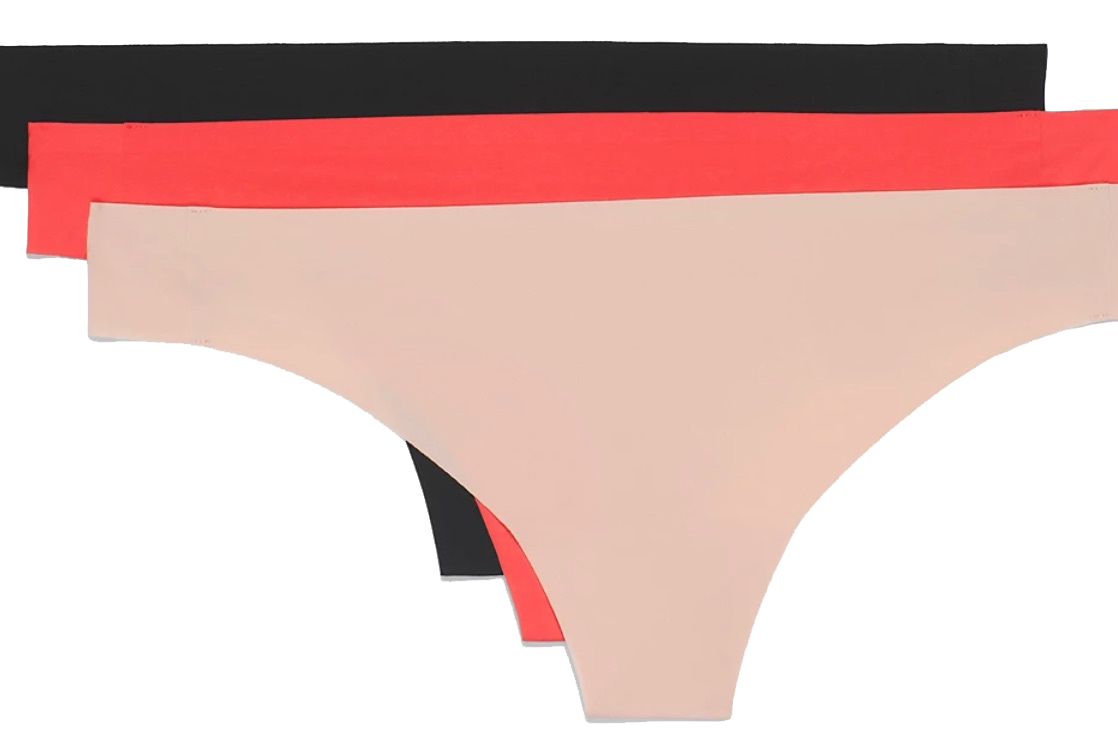
Underwear
I personally like thin seamless workout underwear like the Lululemon Seamless Thong. However, merino wool underwear is definitely a better option to resist odors and wick moisture. If you choose to go the “hiking underwear” route, Icebreaker Siren Thong is a good option.
Sleep Clothes
It’s important to sleep in clean clothes in the winter. Body sweat and oils from your hiking clothes can take away your sleeping bag’s insulation power. I like to wear thin merino wool base layers to sleep like the Icebreaker Merino Wool 200 Oasis Base Layer Top and the Icebreaker Merino Wool 200 Oasis Leggings.

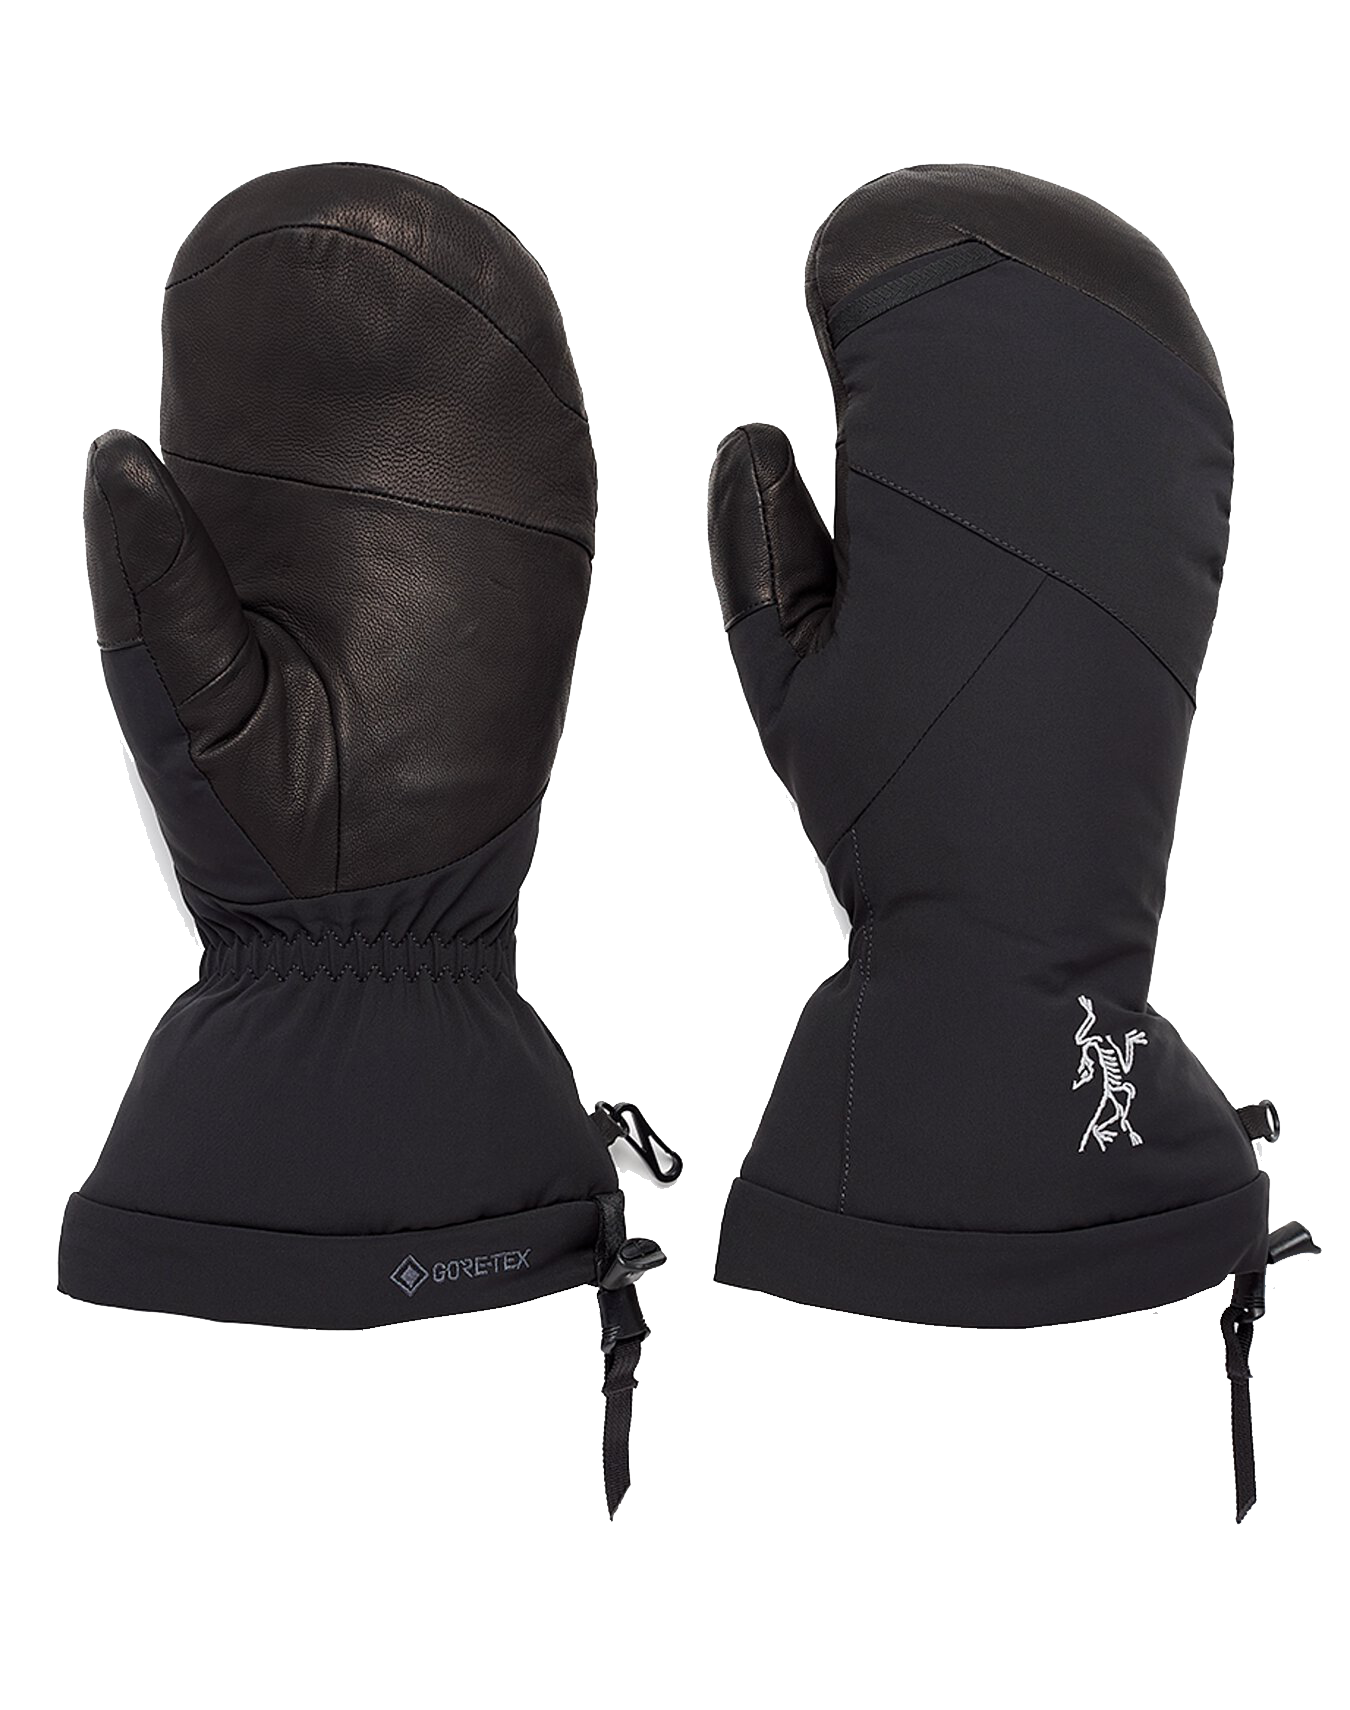
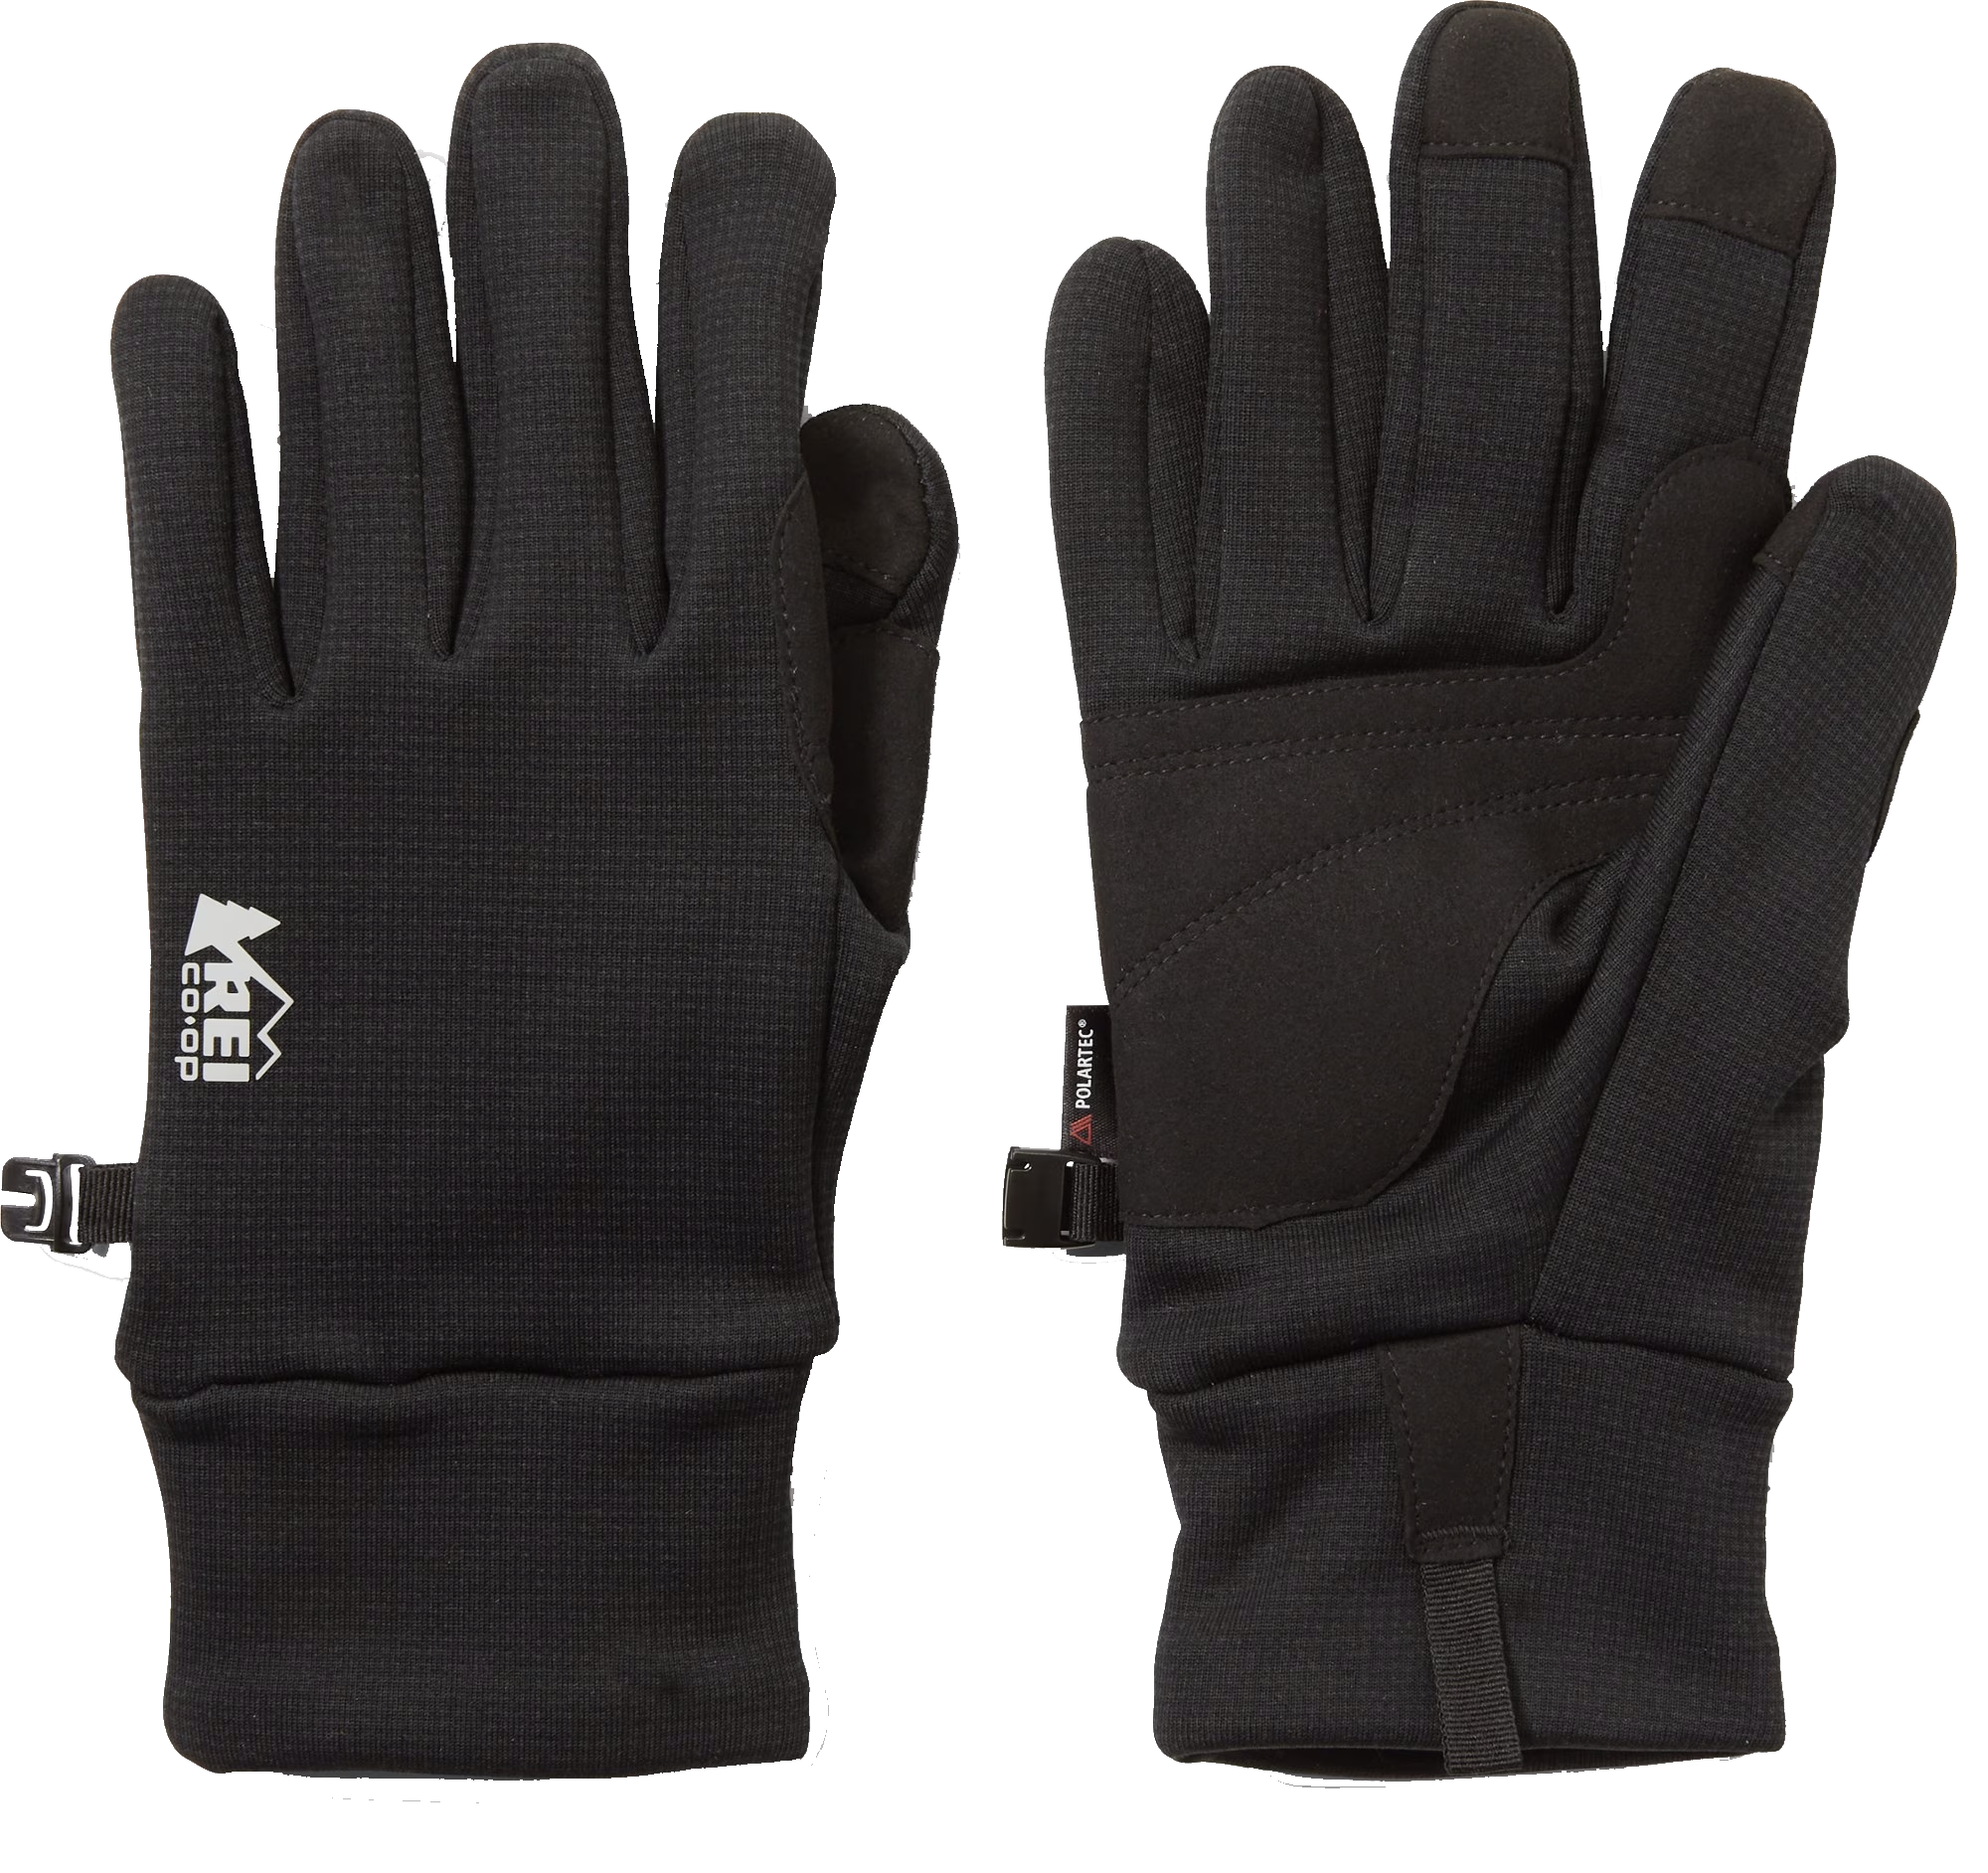
Gloves
So important. My hands are the first thing to get really cold. I always bring waterproof snow mittens and fleece liner gloves. Waterproof snow mittens will keep your hands warm and dry. I love the Arc’teryx Fission SV Mittens. Fleece liner gloves are nice for hiking when your hands are too hot in mittens. They can also be used as an extra layer or back-up pair. I use the REI Polar Tech Wind Pro Fleece Gloves.
Hat
You lose a lot of heat through the top of your head so wearing a winter hat is key. I like my Coal beanie.

Coal Beanie
Buff
On cold and windy days, a buff will keep your neck and the bottom of your face warm.

Buff
MISCELLANEOUS:
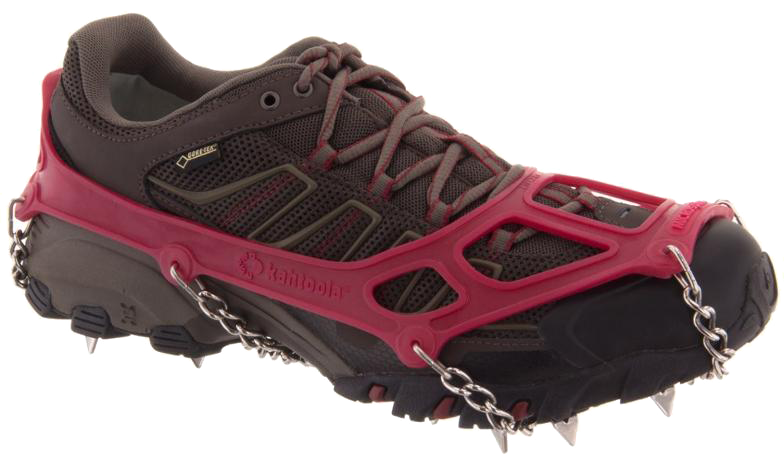
Microspikes
My favorite winter gear item. I feel like I can accomplish anything when I wear them (or maybe just not fall and eat shit on ice). Microspikes are extremely important to prevent falling on packed snow or icy trails. I love my Kahtoola Microspikes and they fit perfectly over my hiking boots.
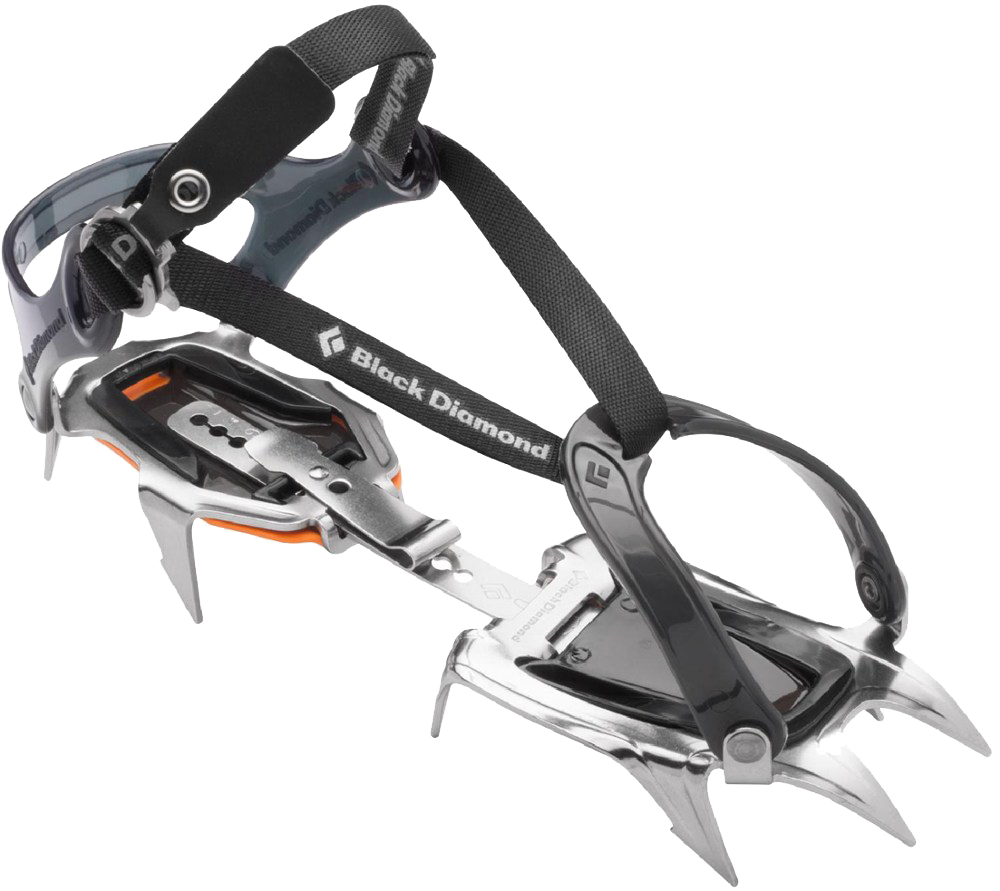
If you plan on going ice climbing or mountaineering, you’ll need crampons which have larger spikes. If you plan on going to deep snow, you’ll need snowshoes which allows you to float on top of unconsolidated snow.
Goggles
This is only necessary if you’re going somewhere extremely windy. I’ve had to turn around on a winter hike because I didn’t have goggles and the wind was so strong that I couldn’t open my eyes. I was extremely happy to have them the next time. In some areas, you can rent a pair. If you prefer to buy your own, the Smith Vogue Snow Goggles are a great option.

Smith Vogue Snow Goggles
Sunglasses
Just because it’s winter, doesn’t mean you don’t need sunglasses. The sun actually reflects off snow and back to you, making it more likely to get snow blindness (sunburned eyes). Always bring sunglasses. Anything polarized and lightweight will work.

Gaiters
If you’re heading somewhere with deep snow, gaiters are extremely helpful to keep snow out of your shoes and your socks dry. You don’t need these for every winter hike. Black Diamond Cirque Gaiters are a good option.

Black Diamond Cirque Gaiters
Kula
My least favorite part of winter backpacking is needing to pee during the night and having to get out into the cold to do so (especially when it’s multiple times in 20° temperatures — yes, this was me trying to stay hydrated). However, it’s so important to pee when you need to pee when it’s cold out. The longer you wait, the colder you’ll get. Your body uses energy to keep your urine warm in your bladder, making the rest of your body colder. A pee cloth is a must. If you can’t bear the idea of getting out of your toasty sleeping bag, use a pee bottle.

Kula Cloth
Trowel + toilet paper
Dig your hole and do your business. If there’s snow, you must dig deep enough so you’re through the soil as well. Deuce Backcountry Trowel is easy to use and super durable.
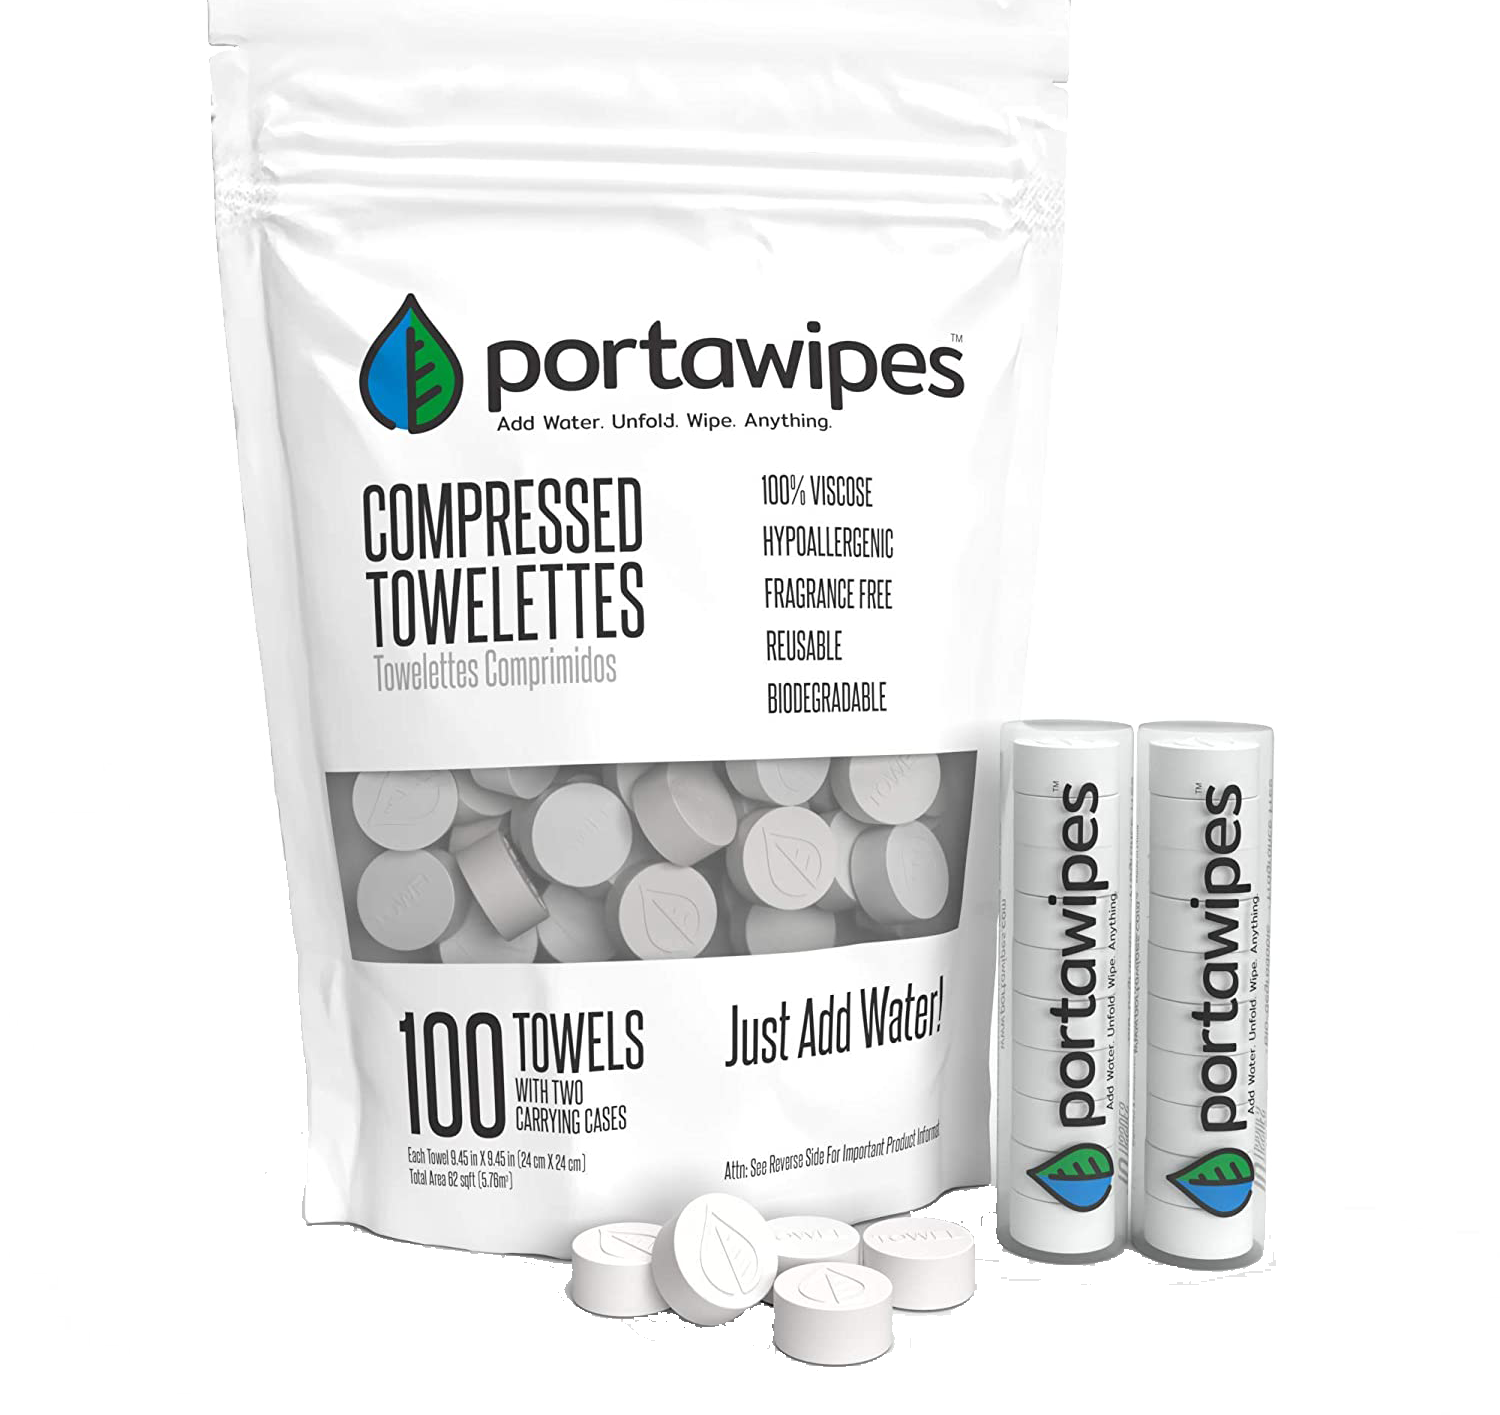
Instead of toilet paper I like to bring Portawipes. They are small, coin size dehydrated towels that just need a few drop of water to expand. Make sure to pack them out even if they are gross (I like to use dog poop bags)! Check out How to Properly Follow Leave No Trace to learn more about how to properly go to the bathroom in the wilderness.

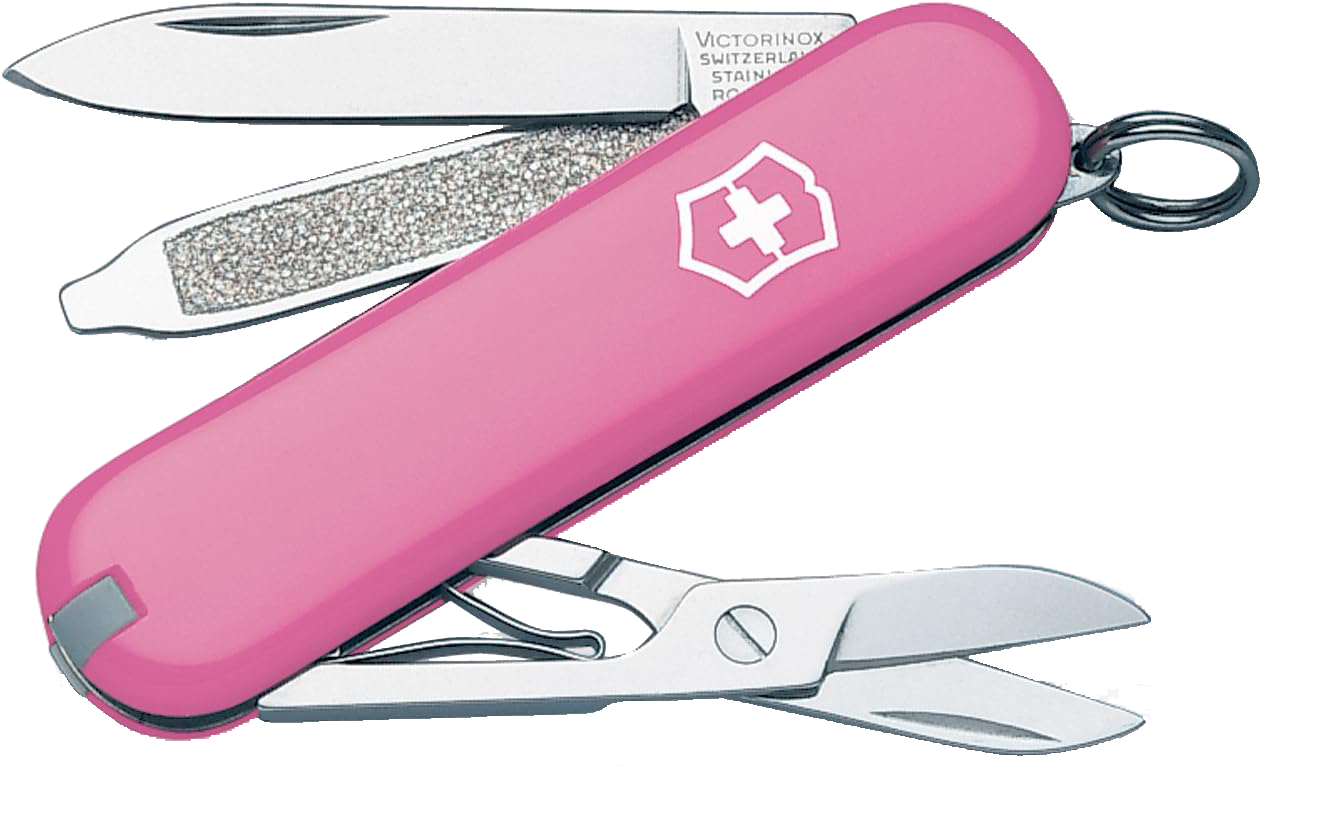
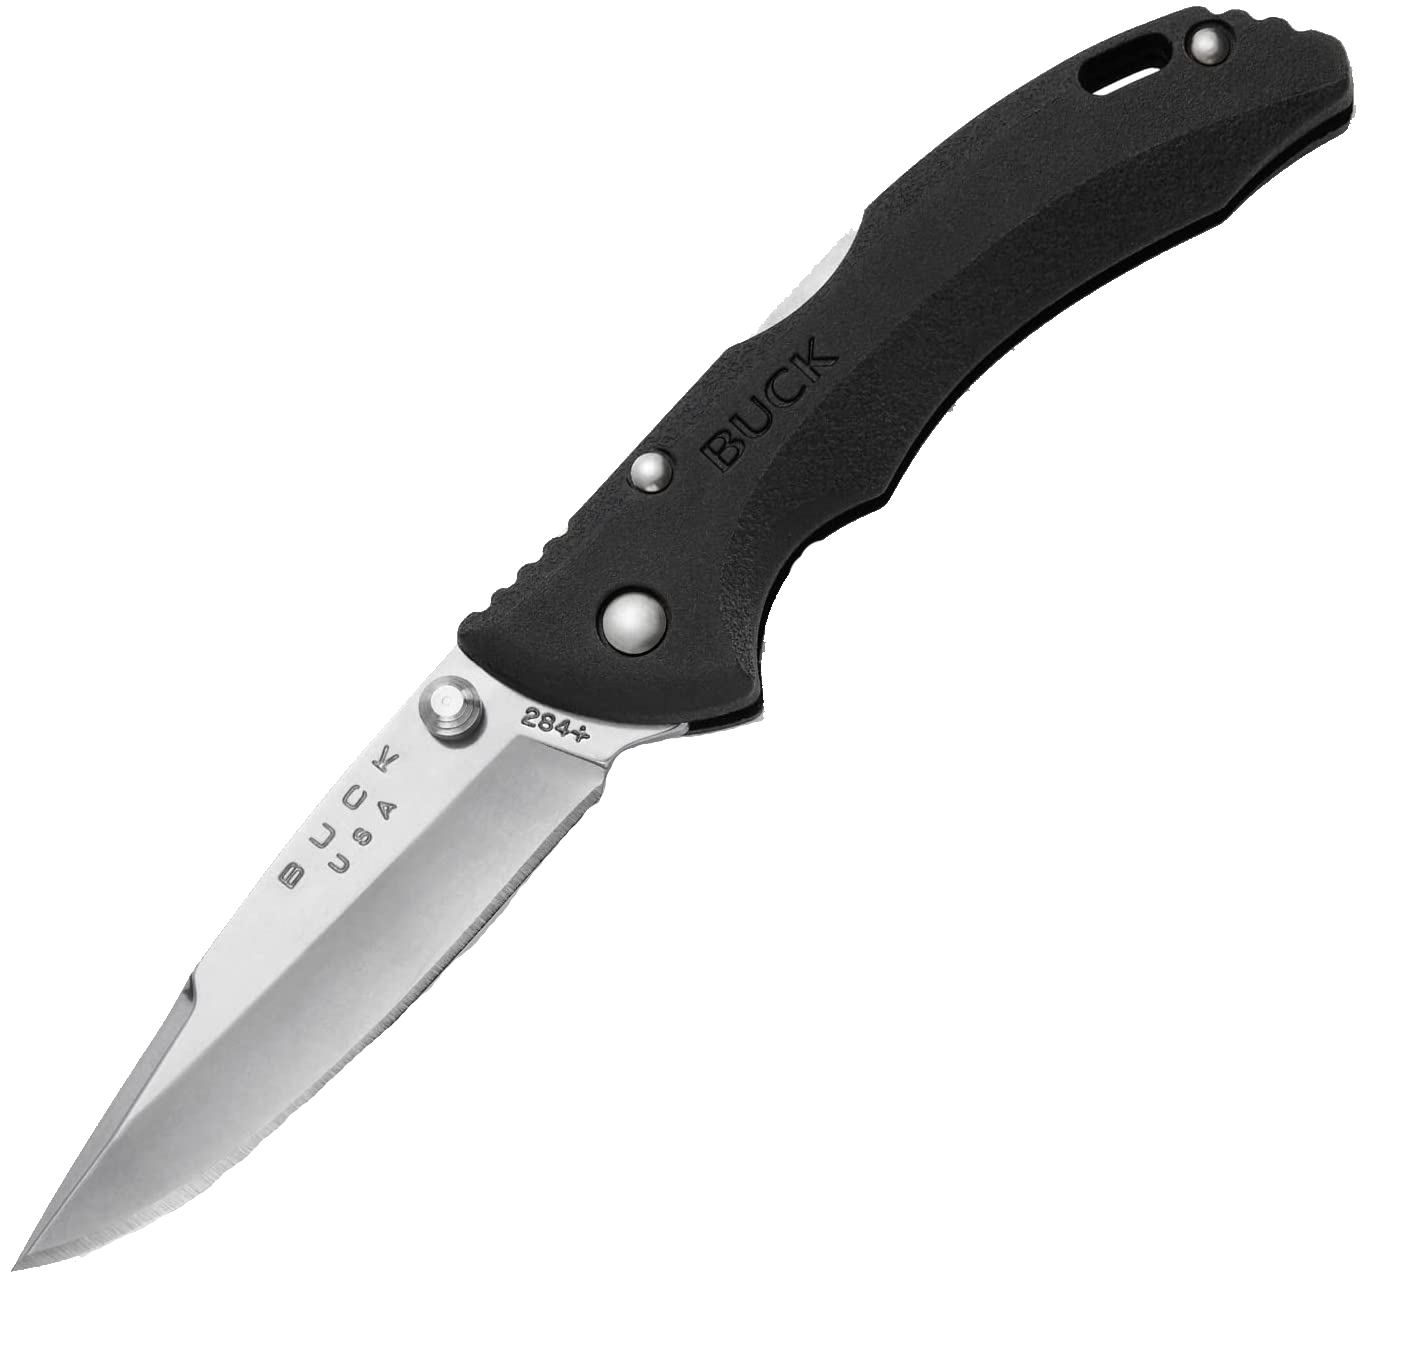
Multi-tool
Small, lightweight, durable and has all the tools you could possibly need. Scissors and pliers are definitely necessary. I use this Mini Swiss Army Knife and a small knife.
Survival matches (and fire starter)
You should always have survival matches (part of The Ten Essentials). However, in case of an emergency, starting a fire is key to staying warm. PLEASE check fire restrictions in the area you are going to first. Don’t start a fire if it isn’t allowed.
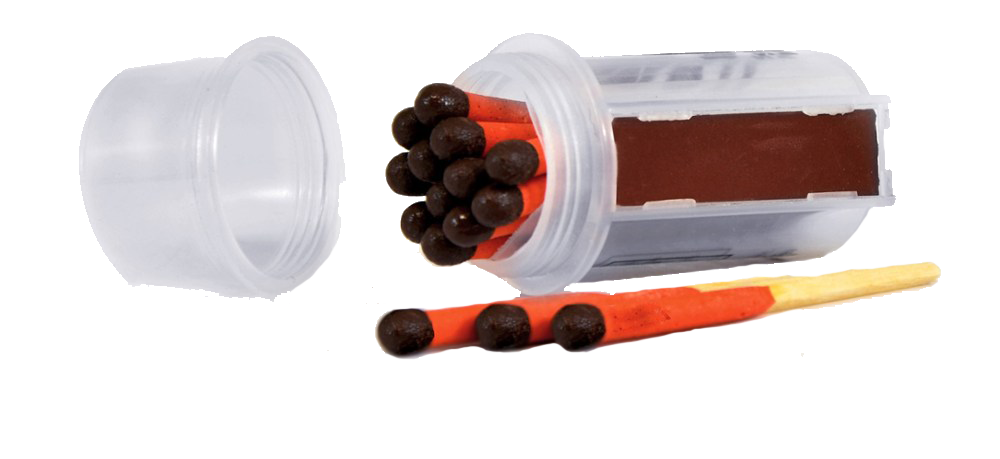
Survival Matches
Seat Pad
Trust me, you’ll want this. Especially in the winter. Sitting on a cold and icy ground while trying to enjoy lunch isn’t too fun. Therm-a-rest Z Seat Pad.

Therm-a-rest Seat Pad
Hand warmers
Yes, yes, and yes. Bring a lot. Hand warmers will save you. You can put them in your mittens, in your jacket pocket, in your pants pocket, in your socks, in your sleeping bag, or in just about anywhere.

Hand Warmers
Toiletries:
I keep all my toiletries in a Zpacks Stuff Sack (very lightweight) or a small Ziplock bag.
Mini toothbrush + toothpaste + floss
Body wipes (Sea to Summit Wilderness Wipes)
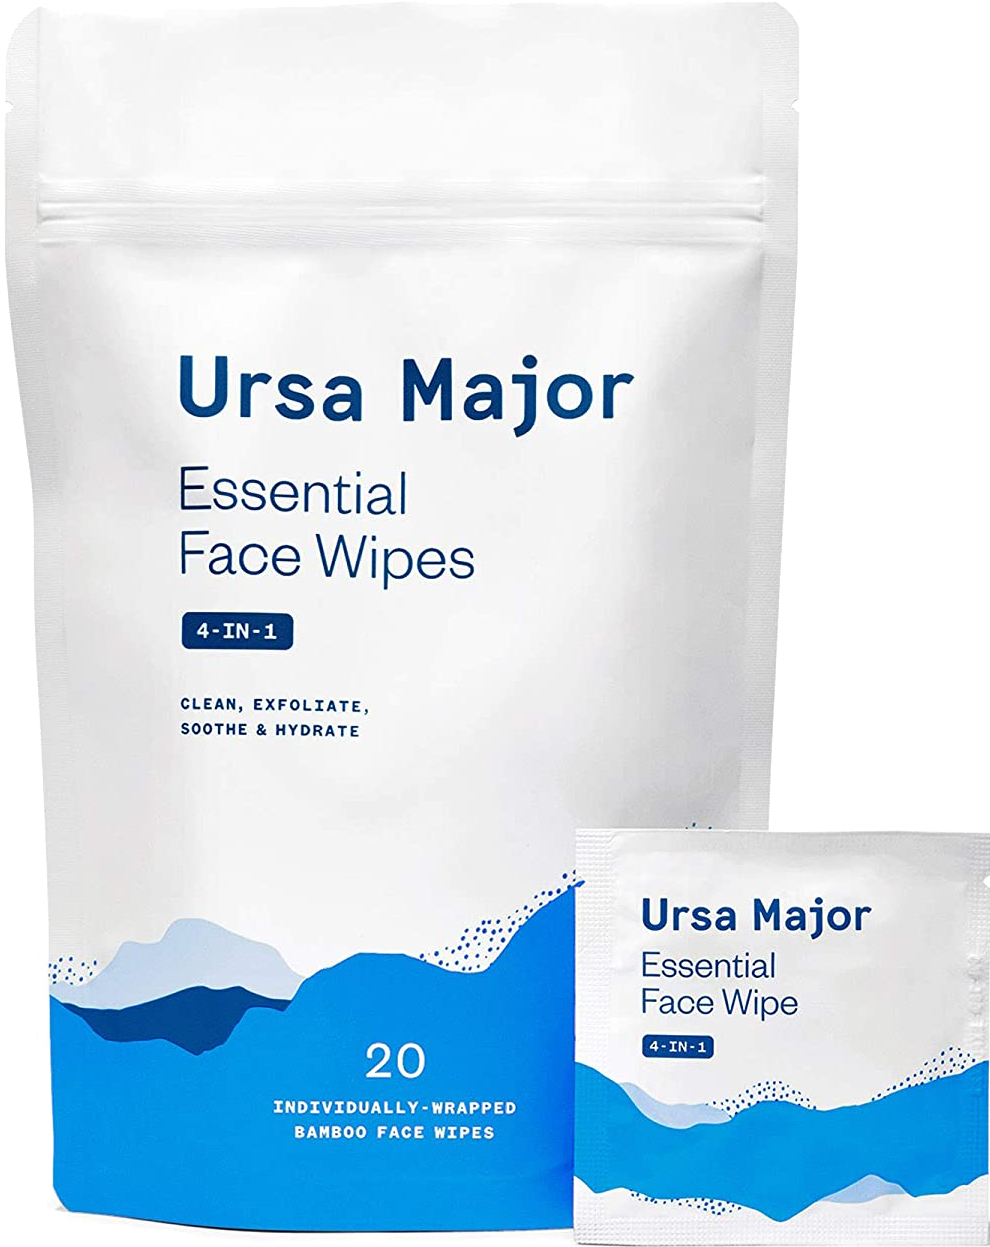
Face wipes (Ursa Major Face Wipes)
Mini hairbrush + hair ties
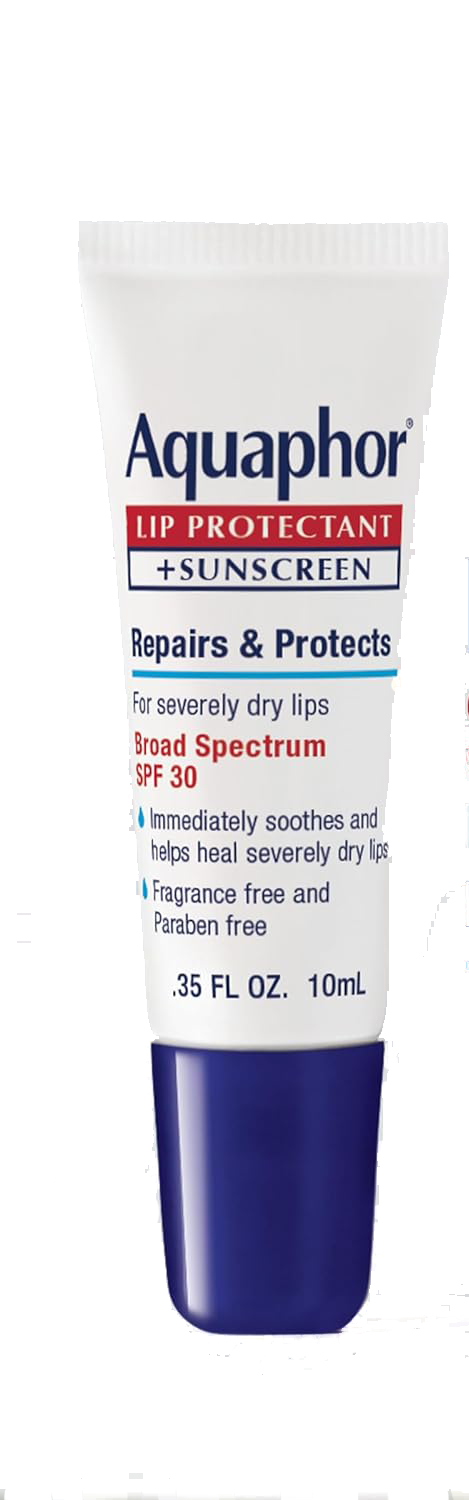
Sunscreen (If it’s cold and overcast, you can still get sunburned. The sun actually reflects off snow and back to you, making it more likely to get burnt. Use sunscreen!)
Mini deodorant
Hand Sanitizer
First Aid:
I have the Ultralight/Watertight 0.5 Medical Kit which comes with bandaids, gauze, wound care, tweezers, Neosporin, safety pins, and some medications. I utilize part of the kit and add:
Leukotape (the best for blisters – wrap some around your trekking pole or a small piece of cardboard to save weight)
Hydrocortisone
Ibueprofen
Imodium
Zofran (nausea)
Benadryl
Food:
Check out my Complete Backpacking List and Food Plan to get an idea of how much food you’ll need and what exactly to bring. Make sure to bring hot chocolate or tea for cold winter nights!

*Please note that some of the links in this post are affiliate links and I may earn a small commission if you choose to make a purchase – at no additional cost to you. As an Amazon Associate I earn from qualifying purchases. These funds help make it possible for me to provide you with these resources. Thank you!