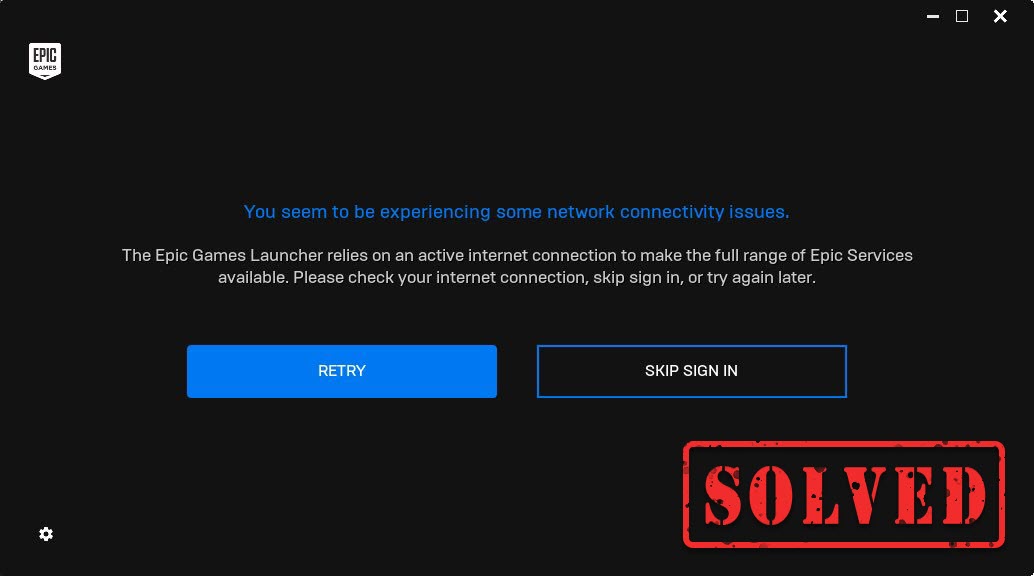
Epic Games Launcher is one of the most popular gaming platforms where you can explore the gaming world. But for some users, they receive an error message “You seem to be experiencing some network connectivity issues. “, which stops them from accessing the game contents. If you’re one of them, don’t worry. In this post, we’ll show you how to fix it.
Before getting started, you’re supposed to restart your modem and router. To do this, simply unplug your modem and router, and wait for at least 30 seconds. Then plug them back in and wait for several seconds. If this doesn’t give you any luck, try the fixes below:
Fix1: Flush DNS cache
When troubleshooting Internet connectivity problems, you should first try to flush the DNS cache. Below are the steps you can take to achieve this:
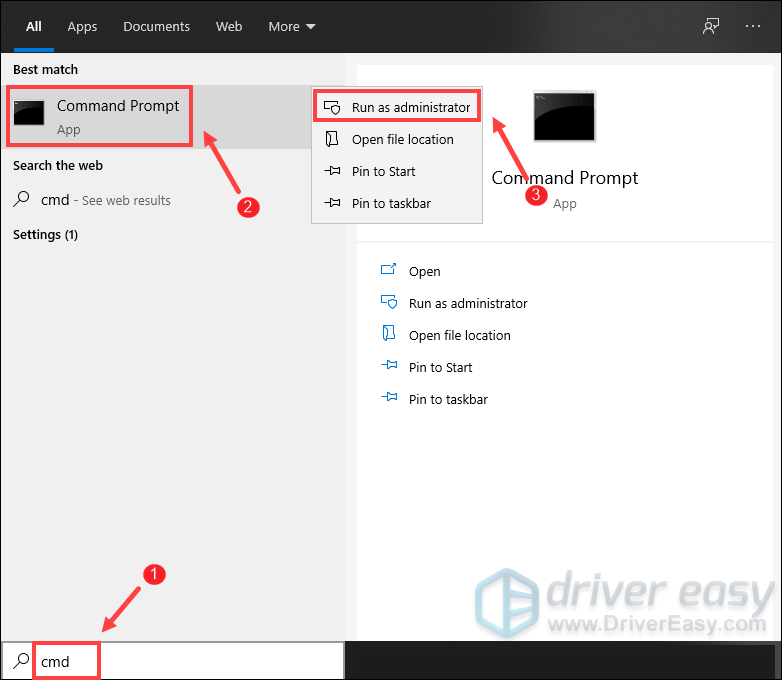
- On your keyboard, press the Windows logo key to open the Start menu. Type cmd. Right-click Command Prompt from the results and select Run as administrator.
- Type or paste the following commands one at a time and then press Enter respectively.
netsh int ip reset c:\resetlog.txt
netsh winsock reset
ipconfig /flushdns
Then restart your PC and open the launcher. If your problem persists, try the next fix below.
Fix2: Change your DNS server
If you are having issues with your Internet connection, we suggest you attempt to switch your DNS. This can result in better connectivity and performance for your internet connection. Here we would like to recommend you try CloudflareDNS. Below is how you can change your DNS server:
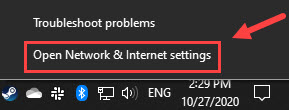
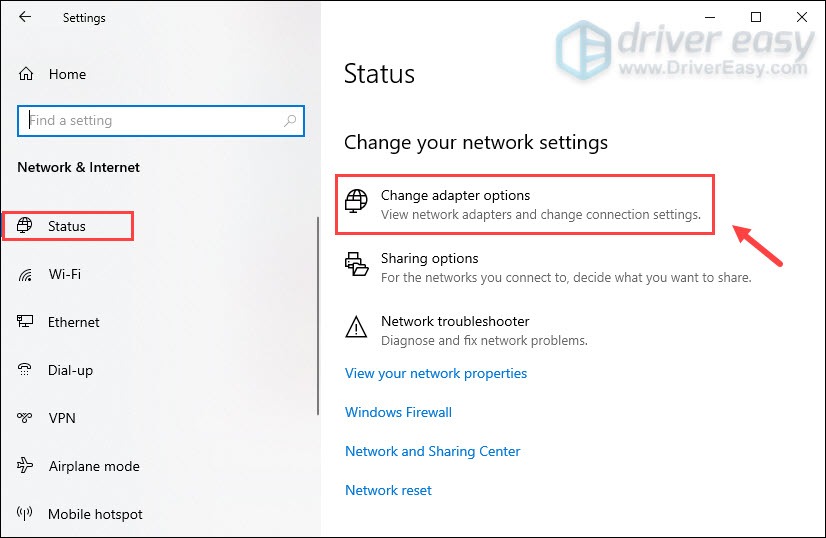
- In the bottom right corner of your desktop, right-click on the network icon and select Open Network & Internet settings.
- In the Status tab, scroll down and click Change adapter options.
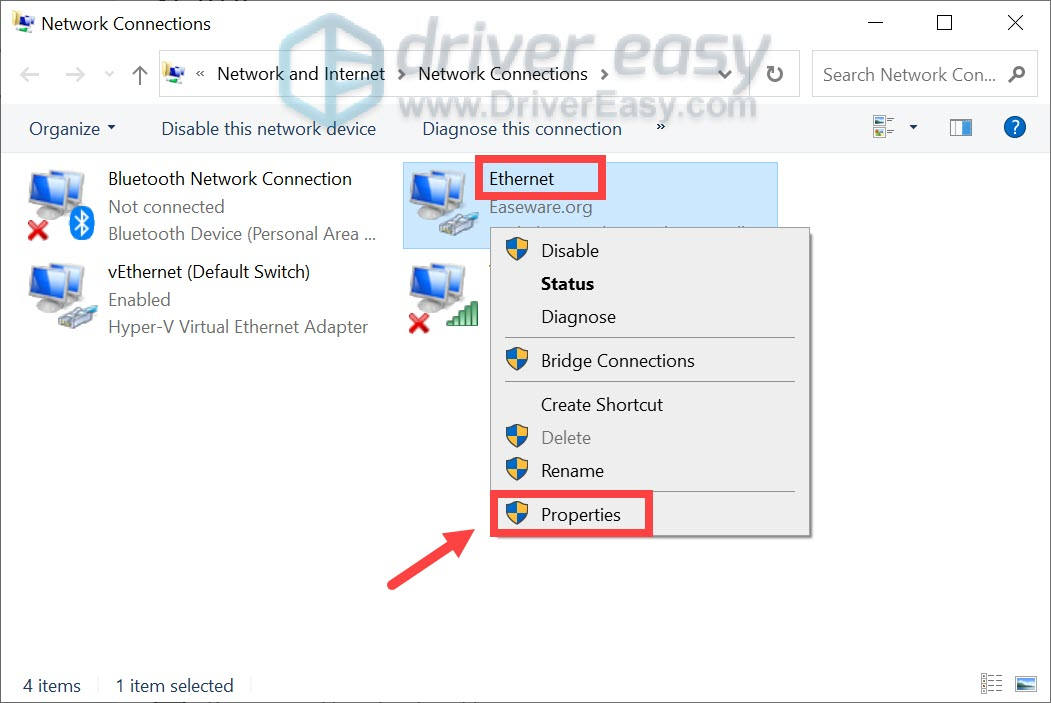
- Right-click on your network connection, whether it’s Ethernet or Wi-Fi and select Properties.
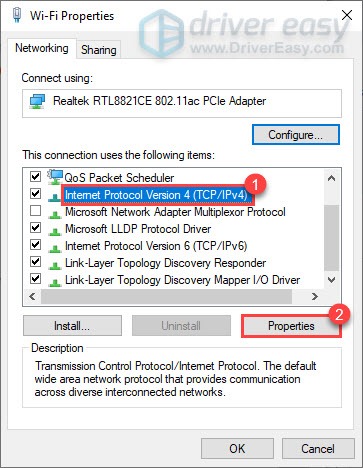
- Under This connection uses the following items, select Internet Protocol Version 4 (TCP/IPv4). Then click Properties.
- Tick Use the following DNS server addresses:. If there are any IP addresses listed in the Preferred DNS server or Alternate DNS server, write them down for future reference. Then replace those addresses with the following ones:
Preferred DNS server: 1.1.1.1
Alternate DNS server: 1.0.0.1
Then click OK to save changes.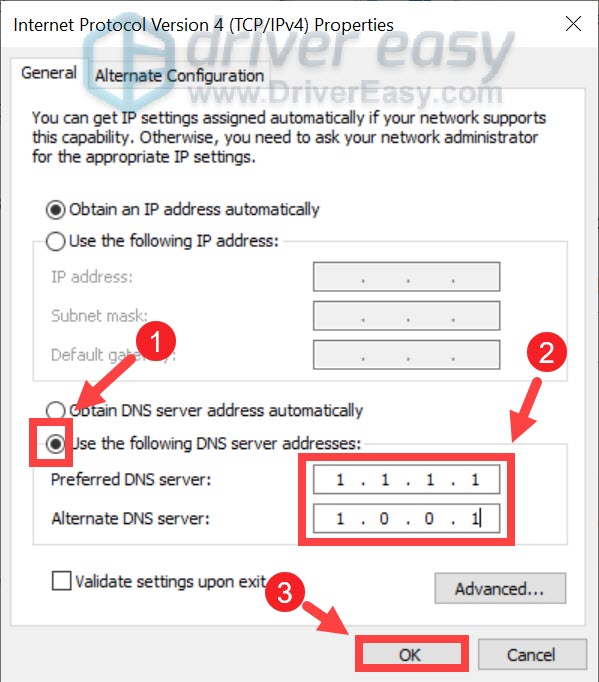
After applying the changes, open the launcher and check if it works normally. If you still get the error, proceed to the next fix.
Fix3: Perform a network reset
When troubleshooting network connection issues, one of the recommended tips is to reset the network settings. This restores all the network-related features and settings to their original values — factory state. To do this, follow the instructions below:
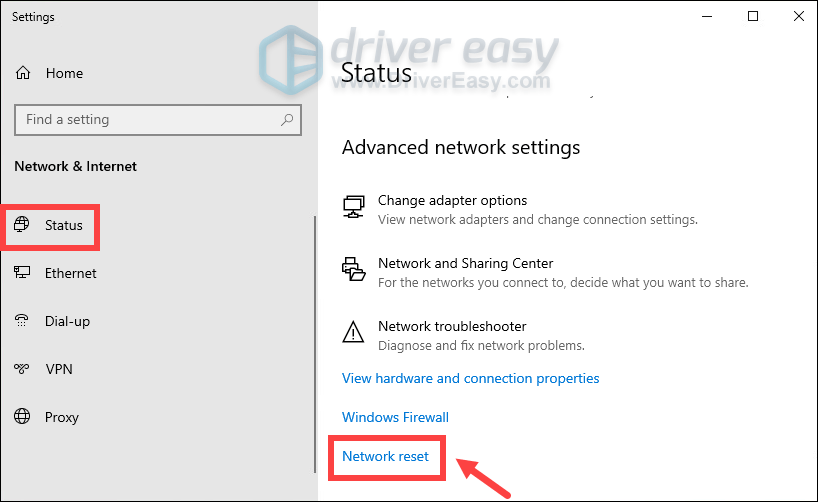
- In the bottom right corner of your desktop, right-click on the network icon and select Open Network & Internet settings.
- In the Status tab, scroll down until you find the Network reset button. Make sure you click on it.
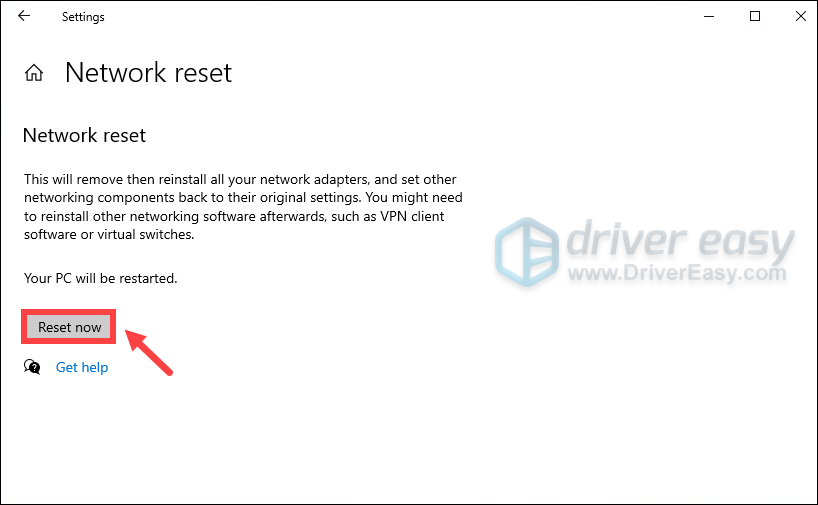
- Click Reset now.
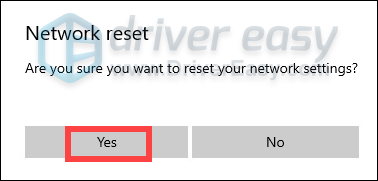
- Click Yes for confirmation.
When you finish the resetting process, restart your PC and then open the launcher. If you still get the error message “network connectivity issues”, move on to the next fix.
Fix4: Update your network driver
A driver is an essential piece of software that lets your system communicate with your hardware. If it is outdated, it would cause noticeable performance issues. Therefore, if your network isn’t working as it should, it’s high time you check if your network adapter driver is up-to-date.
To update your network adapter driver, you can either do it manually via the Device Manager or head to the manufacturer’s driver download page to download and install the exact driver for your system. This requires a certain level of computer knowledge and can be a headache if you aren’t tech-savvy. Therefore, we would like to recommend you use an automatic driver updater tool such as Driver Easy. With Driver Easy, you don’t need to waste your time hunting for driver updates as it will take care of the busy work for you.
Here’s how to update drivers with Driver Easy:
- Download and install Driver Easy.
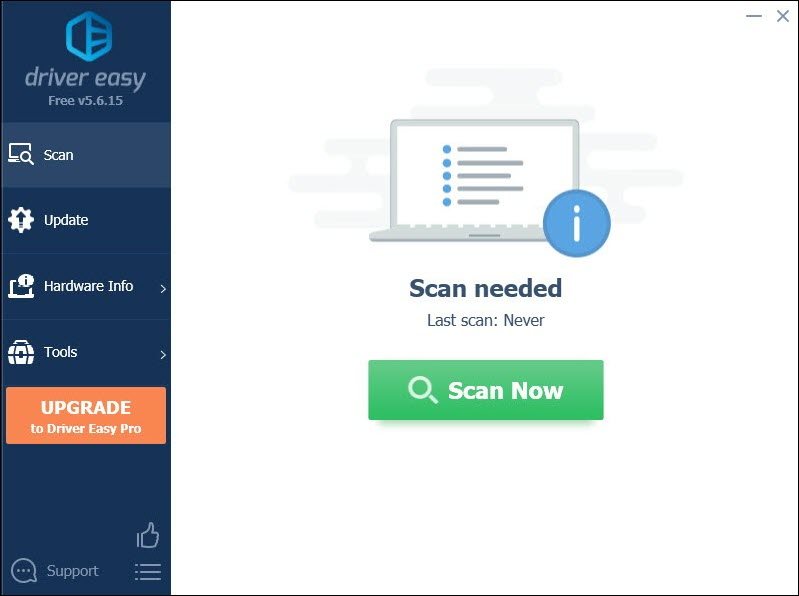
- Run Driver Easy and click the Scan Now button. Driver Easy will then scan your computer and detect any devices with missing or outdated drivers.
- Click Update All. Driver Easy will then download and update all your outdated and missing device drivers, giving you the latest version of each, direct from the device manufacturer.
(This requires the Pro version which comes with full support and a 30-day money-back guarantee. You’ll be prompted to upgrade when you click Update All. If you don’t want to upgrade to the Pro version, you can also update your drivers with the FREE version. All you need to do is to download them one at a time and manually install them. )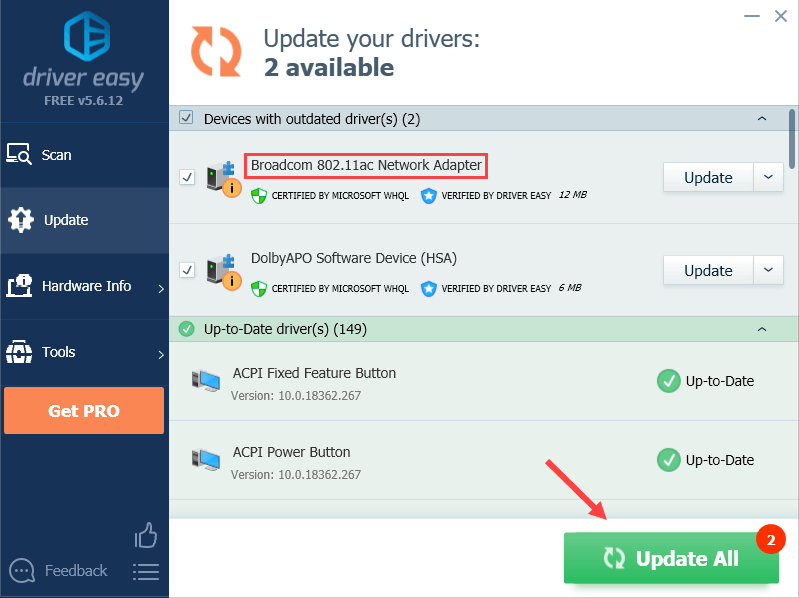
After updating drivers, restart your PC for the changes to take full effect. Then you can start your launcher and your problem should be solved.
Found this post helpful? Then don’t forget to support us by using the creator code DRIVEREASY. In connection with Epic Games’ Support-A-Creator Program, we may receive a commission from your in-game purchases, with no additional cost to you.
How can you support us?
1) Visit the Epic Games Store to see what games are available.
2) At checkout, enter the creator tag DRIVEREASY. Your support is much appreciated!