
Paint Chip Repair Tips
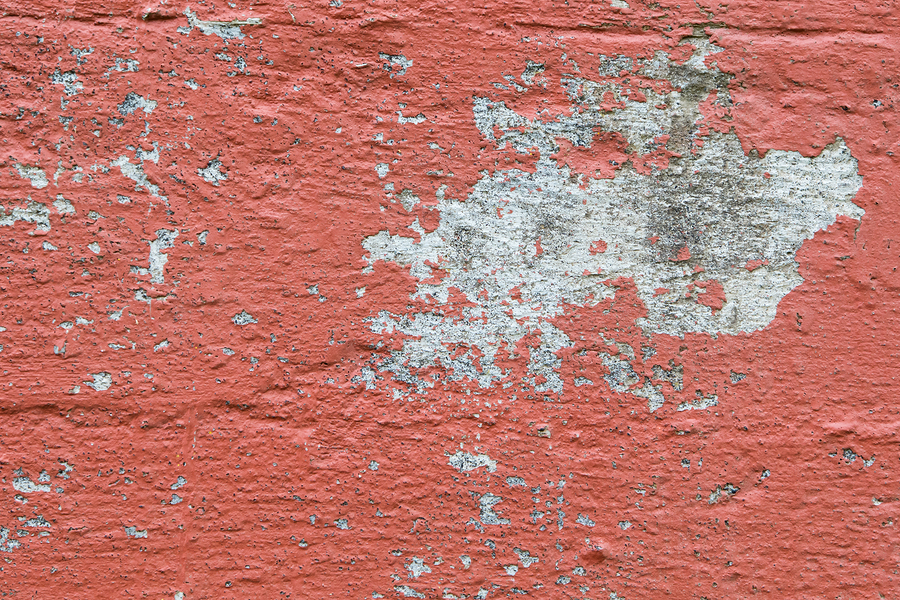
If you’ve owned a home for a while, it is almost impossible to avoid paint chips every now and again. Holes and chips are frustrating because they can be quite an eyesore on your walls and surfaces. The process of paint chip repair is not terribly difficult, although the main issue is finding a coat of paint that will match your existing paint so the results will be seamless. If you’re unsure of how to match your color, consult paint experts who can help you select the right replacement paint for your walls.
To begin paint repair, the first step is to remove all of the paint in the area around the chip. You can try sanding around the section to create an entirely flat surface. Apply spackle in the area of the chip with a putty knife. Be sure not to spread it on too thick or too thin, but ensure that there are no indentations and no sections that stick out. Once the spackle is dry, sand it down smoothly. You will see that the chip or the hole has disappeared, and the area is entirely smooth.
Apply primer before spreading on the paint. Once this has been done, you can paint the section and get the full results once it has dried. Ensure that you have the proper shade of paint before beginning the task. Many paint professionals have digital apps that can perfectly blend colors to create a flawless result.
Consider applying coating over your painting to protect your surfaces and prevent chips and cracks from developing again. Keep equipment and materials handy whenever you need to make a quick repair to the walls in the future. This job can be done in just a few hours and can make your wall look smooth once again. For help matching colors, contact our team at Modern Painting and Remodeling today!